Introduction:
In the realm of men’s fashion, accessories have become a powerful way to express personal style. Among the various choices, beaded bracelets have risen in popularity due to their versatile nature. From adding an edge to casual outfits to complementing formal attire, beaded bracelets can be both subtle and statement-making. Best of all, making your own beaded bracelet allows for complete customization, ensuring the accessory speaks directly to your taste. This guide will take you through a detailed process of crafting your very own beaded bracelet for men, along with tips, tricks, and design insights.
The Allure of Beaded Bracelets: A Brief History
Before diving into the crafting process, it’s essential to understand the historical significance of beaded jewelry. Beaded adornments are among the oldest forms of personal decoration, dating back thousands of years. Ancient civilizations used beads made from bones, stones, and seeds as part of cultural rituals, for protection, or to signify social status.
In Africa, beads have long been symbols of wealth and power. In Native American cultures, beaded jewelry was often crafted for spiritual and ceremonial purposes. Men from various tribes wore beaded bracelets and necklaces to represent their connection to the Earth, using materials that held symbolic meaning.
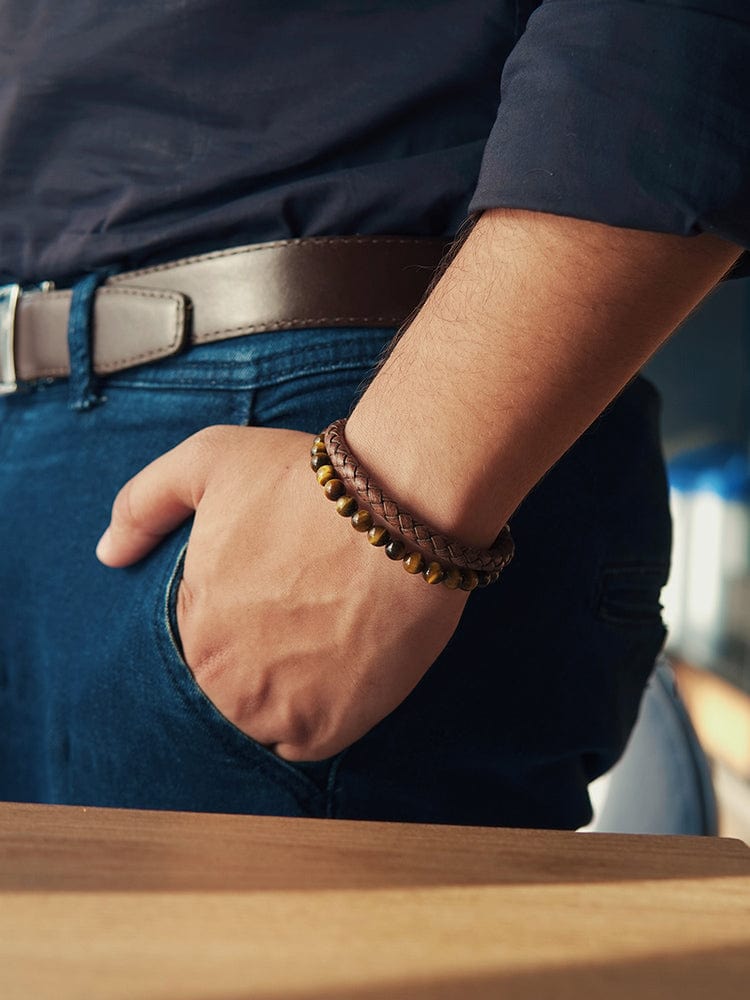
Fast forward to modern times, men’s beaded bracelets have become a symbol of style and personal expression. Whether worn alone or stacked with other bracelets, they add a touch of personality to any look. By making your own, you carry on a tradition that blends history with contemporary fashion.
Materials and Tools
The key to crafting a stylish beaded bracelet lies in choosing the right materials. Below is a breakdown of the essential tools and materials you’ll need:
Beads:
The type of beads you select will define the style of the bracelet. Here are a few popular choices:
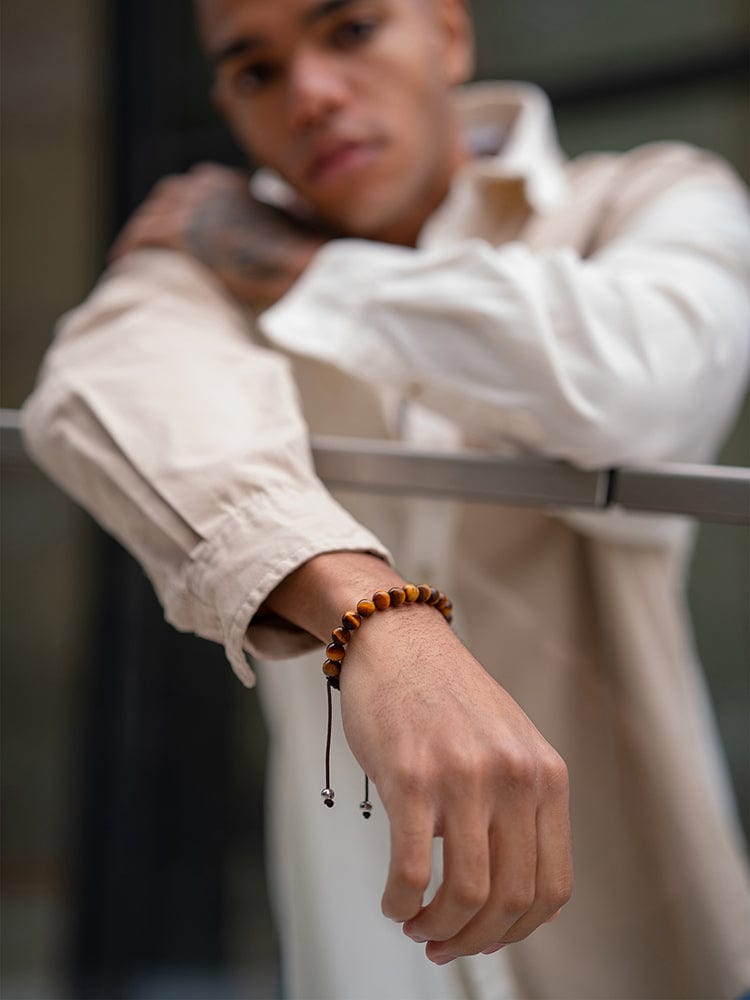
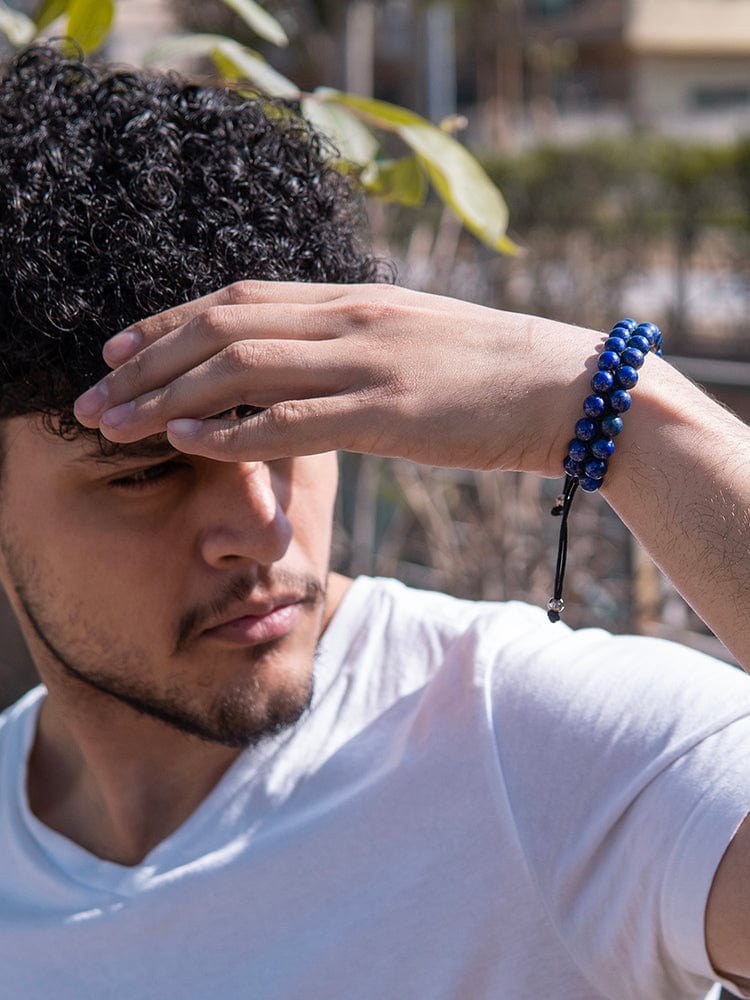
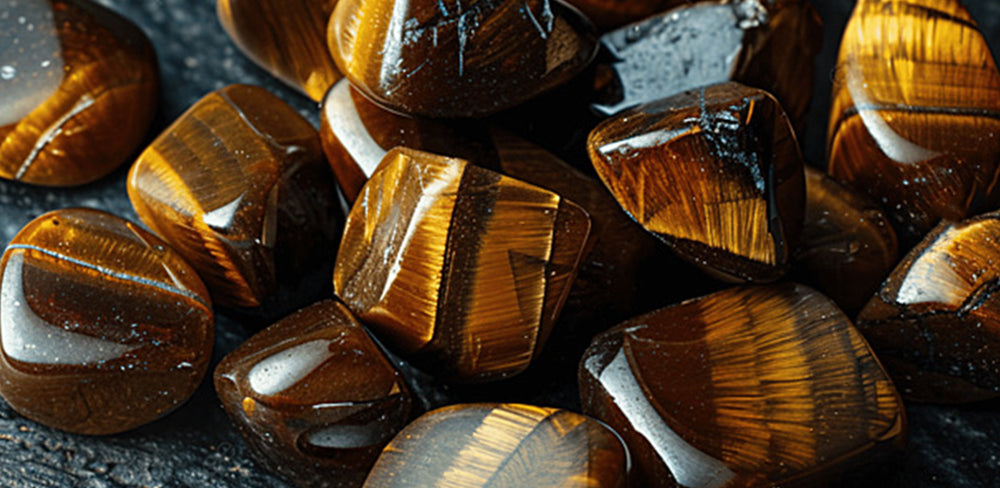
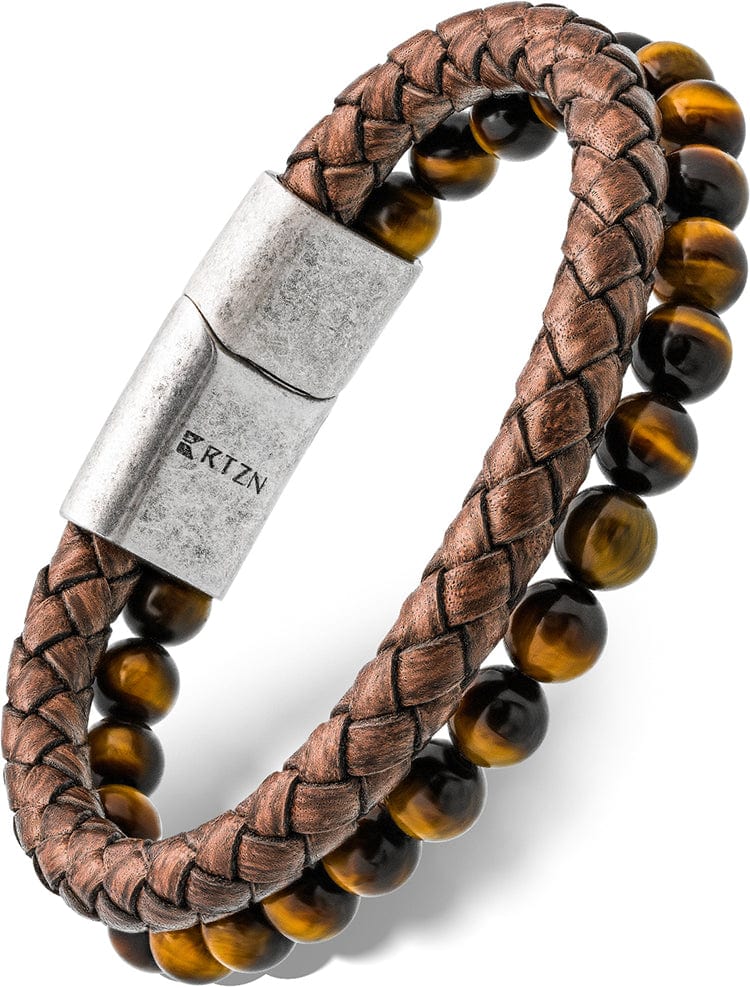
Natural Stones: Natural stone beads like Onyx, Tiger Eye, Lapis Lazuli, and Hematite are favorites for men’s bracelets. These stones offer both aesthetic appeal and supposed metaphysical benefits. For instance, Tiger Eye is said to bring courage and confidence, while Hematite is believed to ground and protect.
Wood Beads: Wood beads offer an earthy and rugged feel. They are lightweight and comfortable to wear, making them ideal for everyday accessories.
Metal Beads: If you want to add a sleek, modern touch, consider incorporating metal beads into your design. Stainless steel, brass, and copper beads can serve as accent pieces or even dominate the bracelet for a more industrial look.
Cord:
Choosing the right cord is crucial for the durability and comfort of your bracelet.
Stretch Cord: Stretch cord or elastic cord is a popular option because it allows the bracelet to easily fit over the wrist without needing a clasp. Opt for a high-quality cord that won’t lose its elasticity over time.
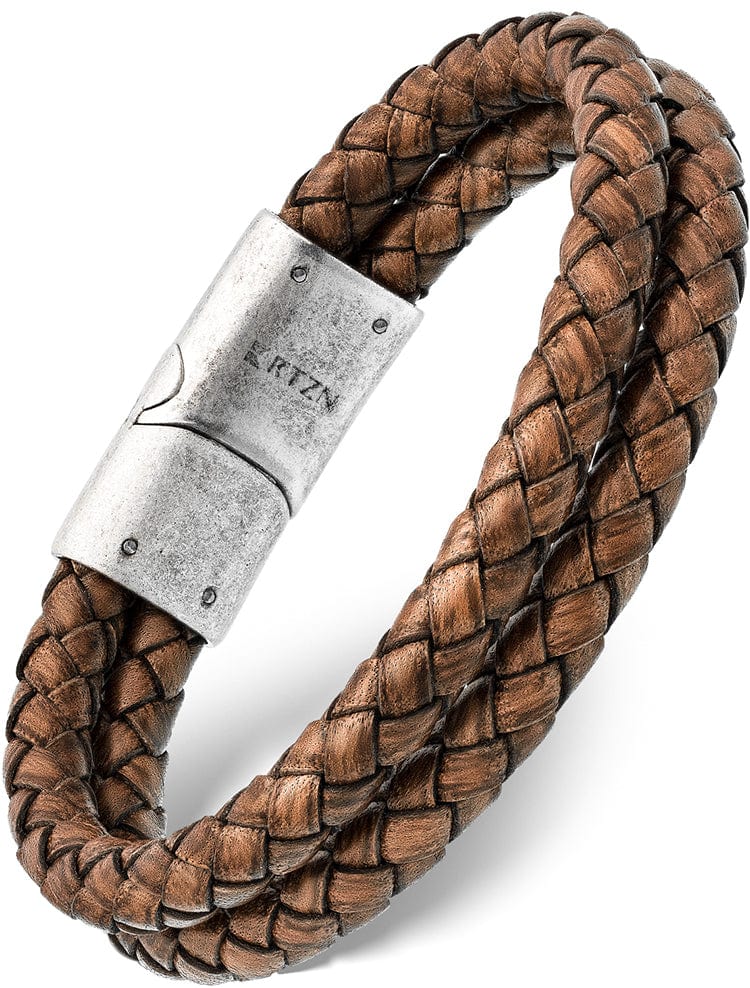
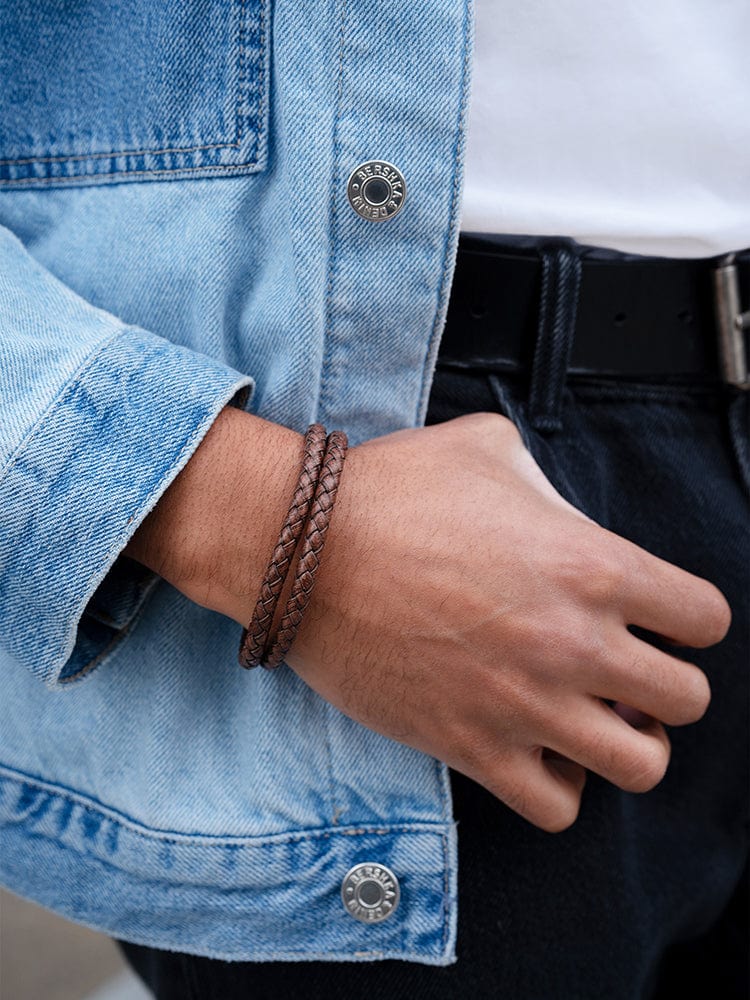
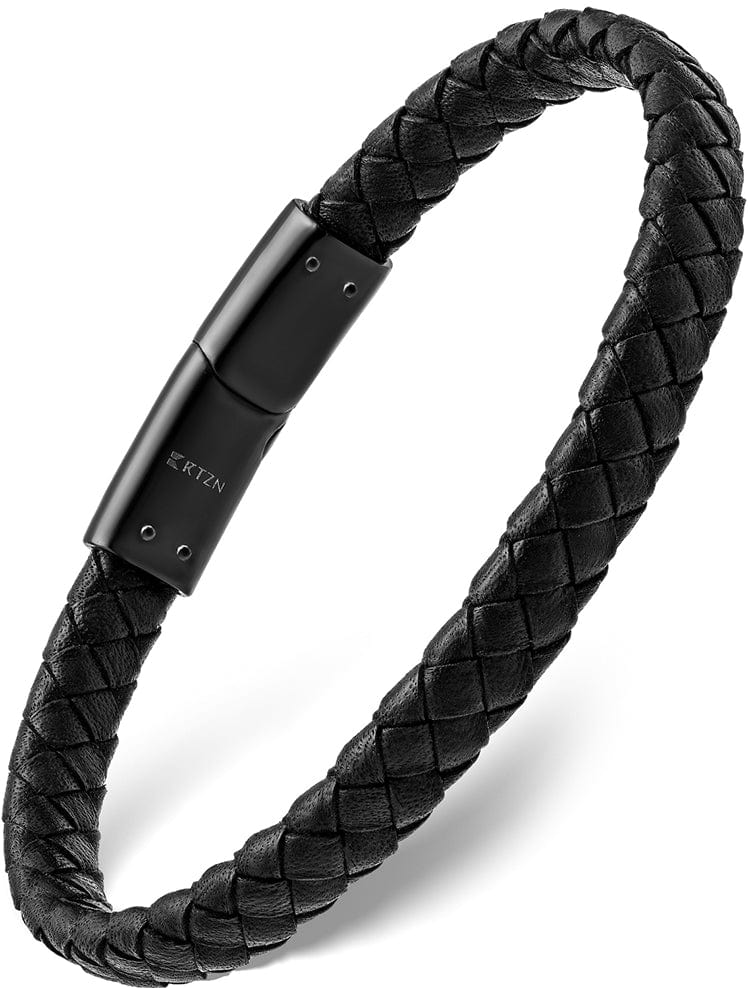
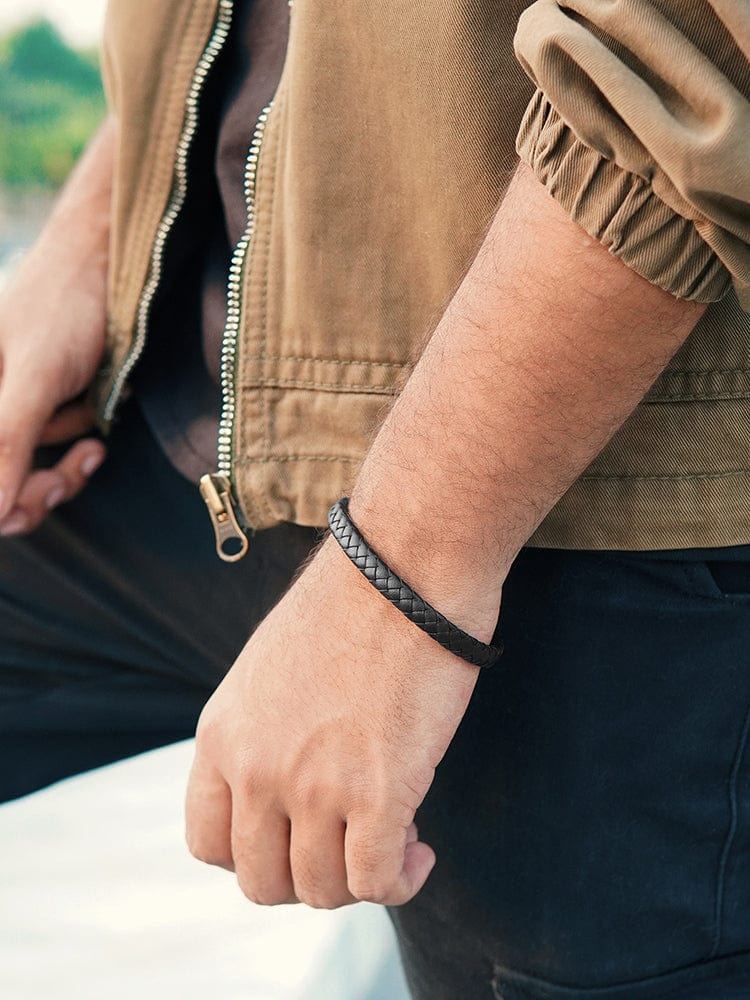
Leather Cord: For a more rustic or rugged look, leather cord can be used. Leather adds a tactile element to the design, but it requires the use of clasps or knots for closure.
Nylon Cord: Nylon cord is strong and durable, making it a good option for heavy beads like stones or metals. It’s also resistant to fraying.
Clasps and Findings:
If you decide to use a non-stretch cord, you’ll need a clasp for closure. Some popular options include:
- Lobster Clasp: A durable and secure clasp that’s great for everyday wear.
- Toggle Clasp: An easier-to-use clasp that adds a stylish touch.
- Magnetic Clasp: Ideal for those who prefer easy-on, easy-off functionality.
Additional Tools:
- Scissors or Wire Cutters: To cut the cord or wire cleanly.
- Crimp Beads and Crimping Tool: These are used to secure the ends of non-stretch cords.
- Beading Needle: Optional, but helpful for threading small beads onto the cord.
- Measuring Tape: To ensure the bracelet is the correct size.
- Jewelry Glue: Optional, for securing knots.
Designing Your Beaded Bracelet
Now that you’ve gathered your materials, it’s time to think about the design. Creating a beaded bracelet is an art form that allows for endless creativity. Here are some key design principles to consider:
Color Schemes:
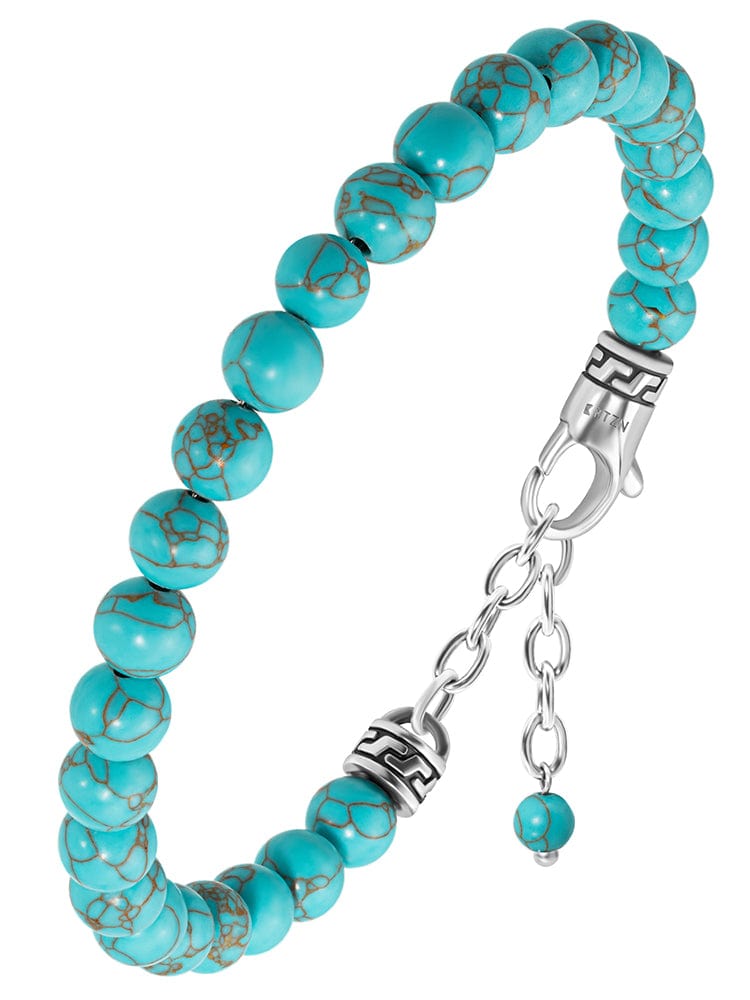
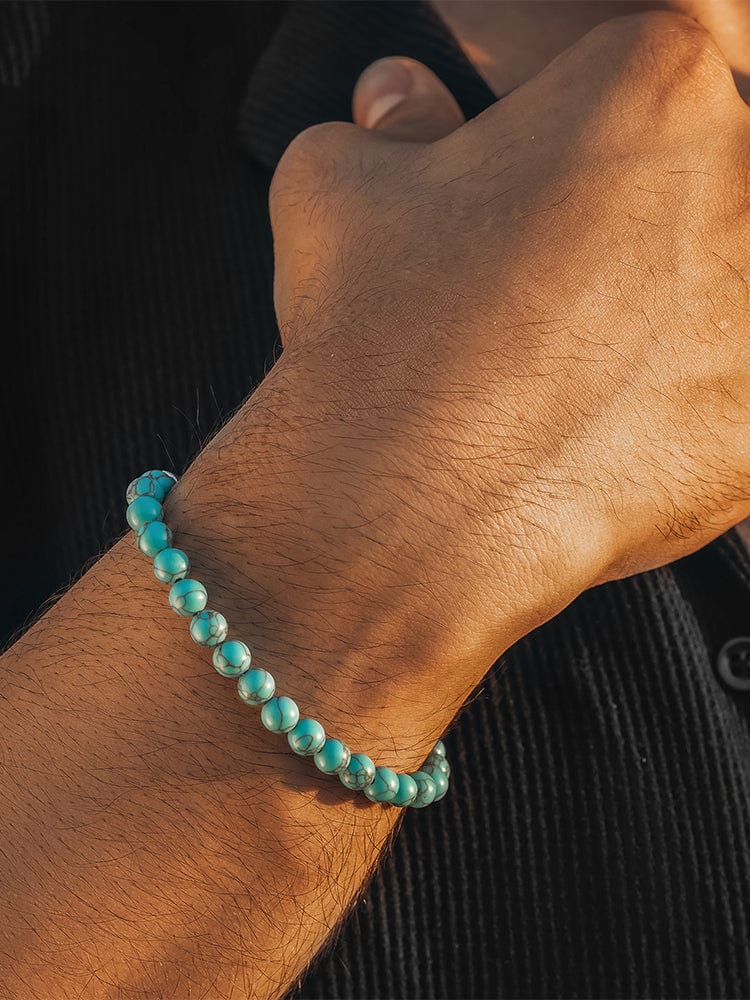
When designing a bracelet for men, it’s often best to stick to neutral or earthy color palettes. Black, brown, gray, and navy are versatile shades that can be worn with almost any outfit. However, don’t be afraid to incorporate pops of color, especially if you’re using natural stones with vibrant hues like Malachite or Lapis Lazuli.
For a cohesive look, try sticking to two or three colors in your design. For example, pairing black Onyx with gold accent beads creates a sophisticated, elegant look, while brown wooden beads combined with brass offer a more rugged, earthy aesthetic.
Bead Sizes:
Bead size plays a crucial role in the overall appearance of the bracelet. For men’s bracelets, beads that range from 6mm to 10mm in diameter are the most popular. Larger beads tend to create a bolder statement, while smaller beads offer a more subtle look.
- 8mm Beads: This is a common size for men’s bracelets and offers a balanced look—not too bulky but still noticeable.
- 10mm Beads: Use these for a more substantial, chunky look that works well in casual, laid-back styles.
Mixing Materials:
Don’t limit yourself to just one type of bead. Mixing materials such as natural stones, wood, and metal can create an eye-catching contrast. For example, pairing matte black Onyx with polished Hematite adds texture and visual interest.
Another popular trend is the use of spacer beads—small metal beads that separate larger beads. This not only breaks up the pattern but also adds a touch of elegance.
Patterns and Symmetry:
Symmetry is a key element in many designs, but it’s not a hard-and-fast rule. You can create a repeating pattern using a combination of beads, or opt for an asymmetrical design that adds an element of surprise. For a classic look, arrange the beads in a mirror-image pattern from the center outward.
- Example Pattern: 5 black Onyx beads, followed by 1 metal spacer bead, 5 Tiger Eye beads, 1 metal spacer bead, repeat.
Adding Personalization:
One of the joys of making your own bracelet is adding personal touches. Consider incorporating a charm that has special meaning to you, such as an initial, symbol, or lucky number. You can also create custom combinations of stones that represent different attributes, such as strength, courage, or balance.
Step-by-Step Guide to Making the Bracelet
Now that you’ve chosen your materials and planned your design, let’s dive into the crafting process. Follow these steps to create your beaded bracelet:
Step 1: Measure the Wrist
Before you begin stringing beads, measure the wrist of the person who will wear the bracelet. For most men, a bracelet length between 7 to 8.5 inches works well, depending on wrist size and desired fit. Use a flexible measuring tape or a piece of string to measure the circumference, and add an extra inch to account for the beads’ thickness.
Step 2: Cut the Cord
Cut your stretch cord or nylon cord to the desired length, adding an extra 4-6 inches to allow room for tying knots. If you’re using leather cord, make sure to cut enough length to accommodate the clasp and any additional knots.
Step 3: Lay Out Your Design
Before stringing the beads onto the cord, it’s a good idea to lay them out on a flat surface to visualize the pattern. This step ensures that you’re happy with the design before committing to it. You can use a beading mat or a towel to prevent the beads from rolling away.
Step 4: String the Beads
Start stringing the beads onto the cord in the order of your design. If you’re using small beads or have difficulty threading them, a beading needle can be helpful. Make sure to leave a few inches of cord on each end for tying knots or attaching the clasp.
Step 5: Tie a Secure Knot
Once all the beads are strung, it’s time to secure the bracelet. For stretch cord, tie a double or triple knot at the ends of the bracelet. To prevent the knot from coming undone, add a drop of jewelry glue to the knot and let it dry. After the glue is dry, trim any excess cord close to the knot.
If you’re using non-stretch cord, such as leather or nylon, you’ll need to attach a clasp. Thread a crimp bead onto the cord, loop the cord through the clasp, and then back through the crimp bead. Use a crimping tool to flatten the crimp bead and secure the clasp. Finally, trim any excess cord.
Step 6: Test the Bracelet
Gently stretch or flex the bracelet to test its durability and fit. The bracelet should stretch enough to go over the wrist comfortably but still fit snugly once worn. If using a clasp, ensure that it opens and closes smoothly and that the bracelet sits securely on the wrist.
Advanced Techniques and Variations
For those who want to take their bracelet-making skills to the next level, there are several techniques that can be incorporated to create unique pieces. Here are a few ideas:
1. Braided Designs:
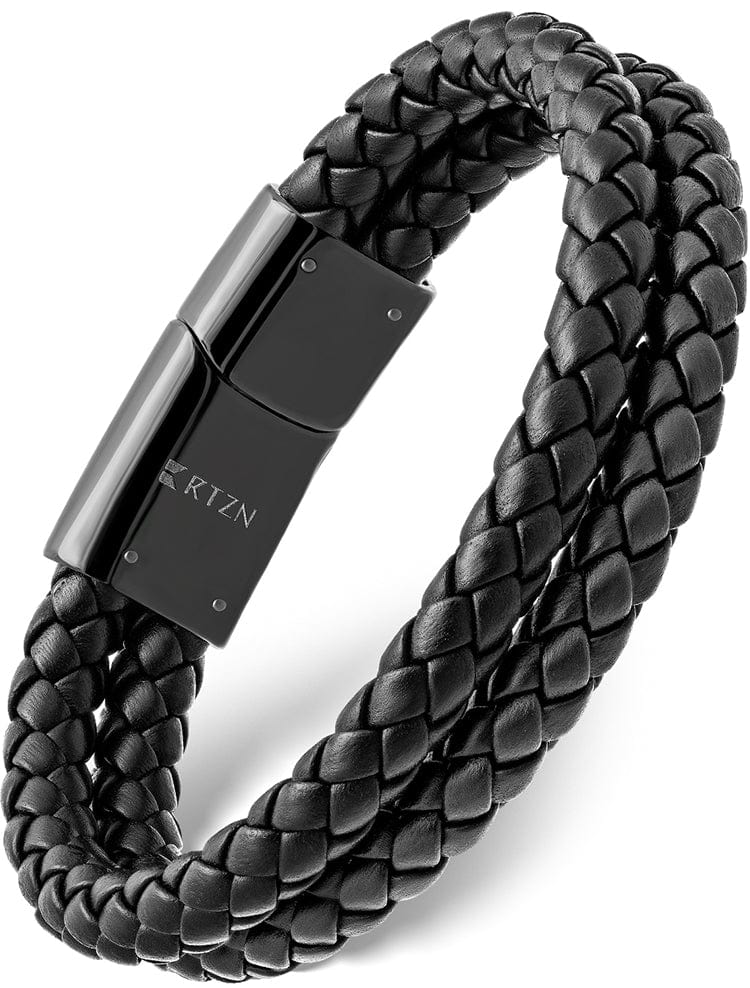
Instead of a simple string of beads, you can braid multiple cords together. This works especially well with leather or waxed cotton cords. The braiding technique adds texture and complexity to the bracelet, making it stand out more.
2. Adjustable Sliding Knots:
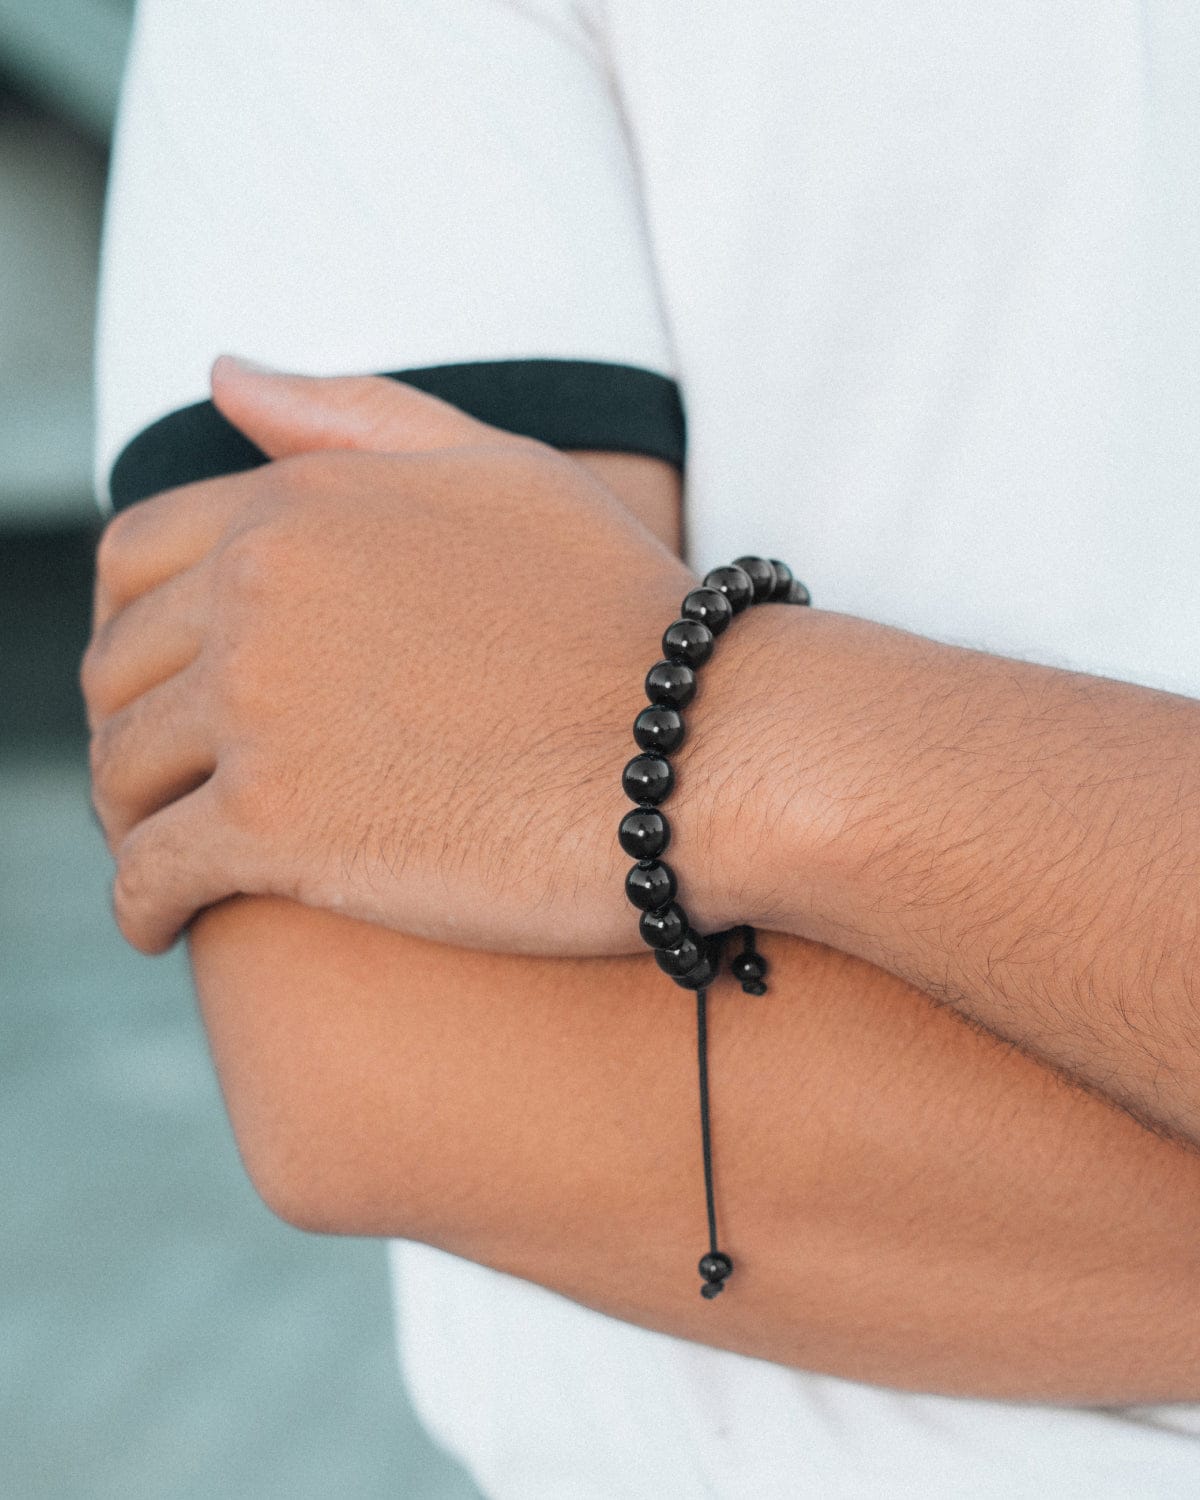
If you prefer a bracelet without a clasp, an adjustable sliding knot is a great option. This technique allows you to create a bracelet that can be easily adjusted to fit different wrist sizes. By looping the ends of the cord and securing them with sliding knots, you create a functional and stylish closure.
3. Multiple Strands:
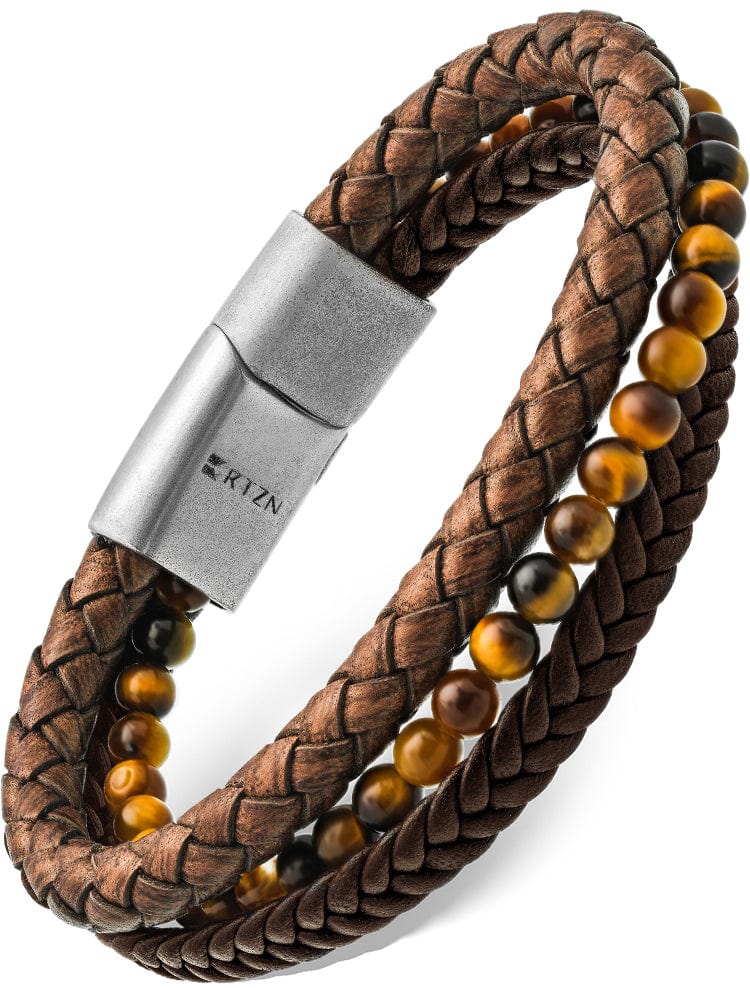
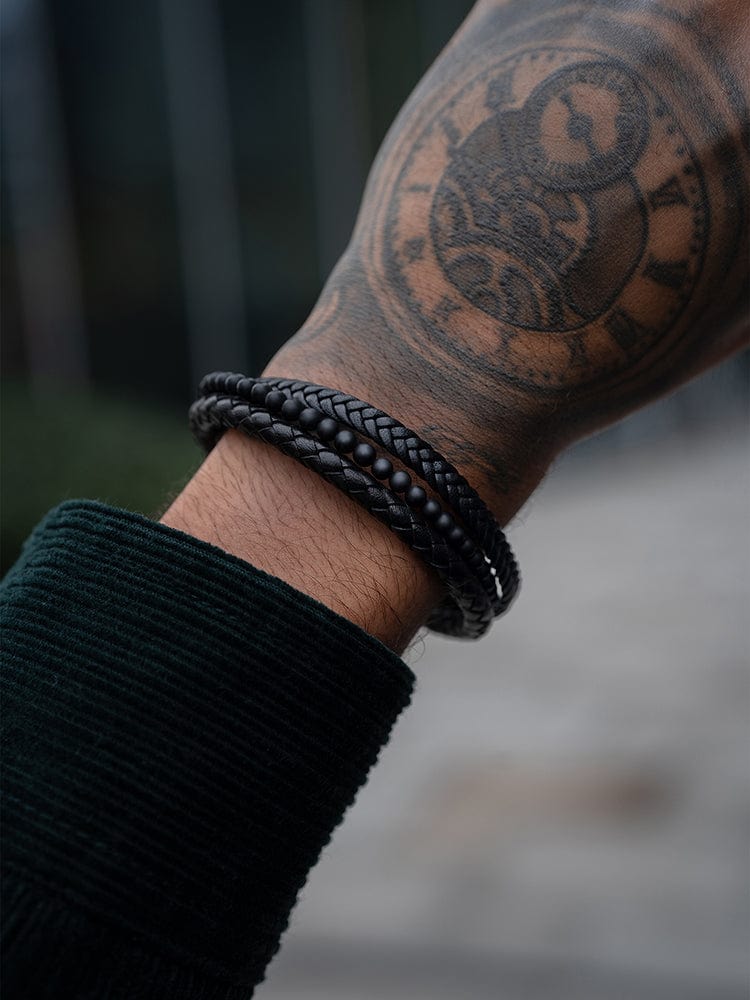
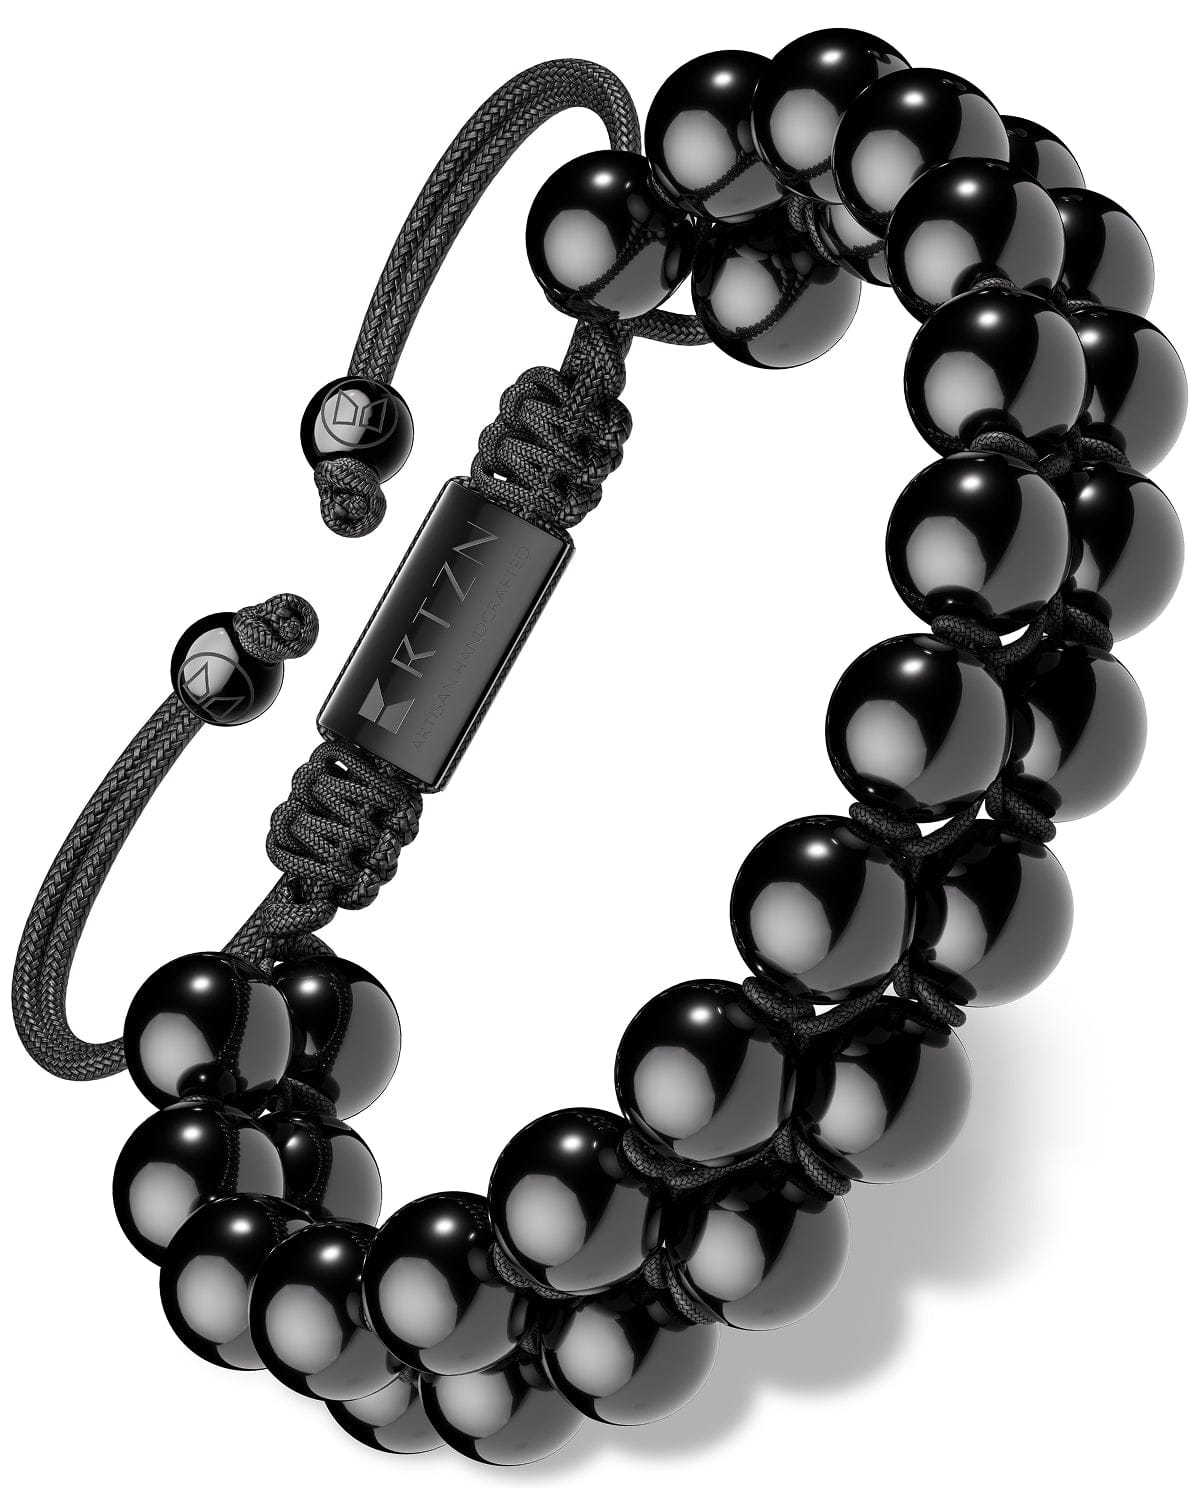
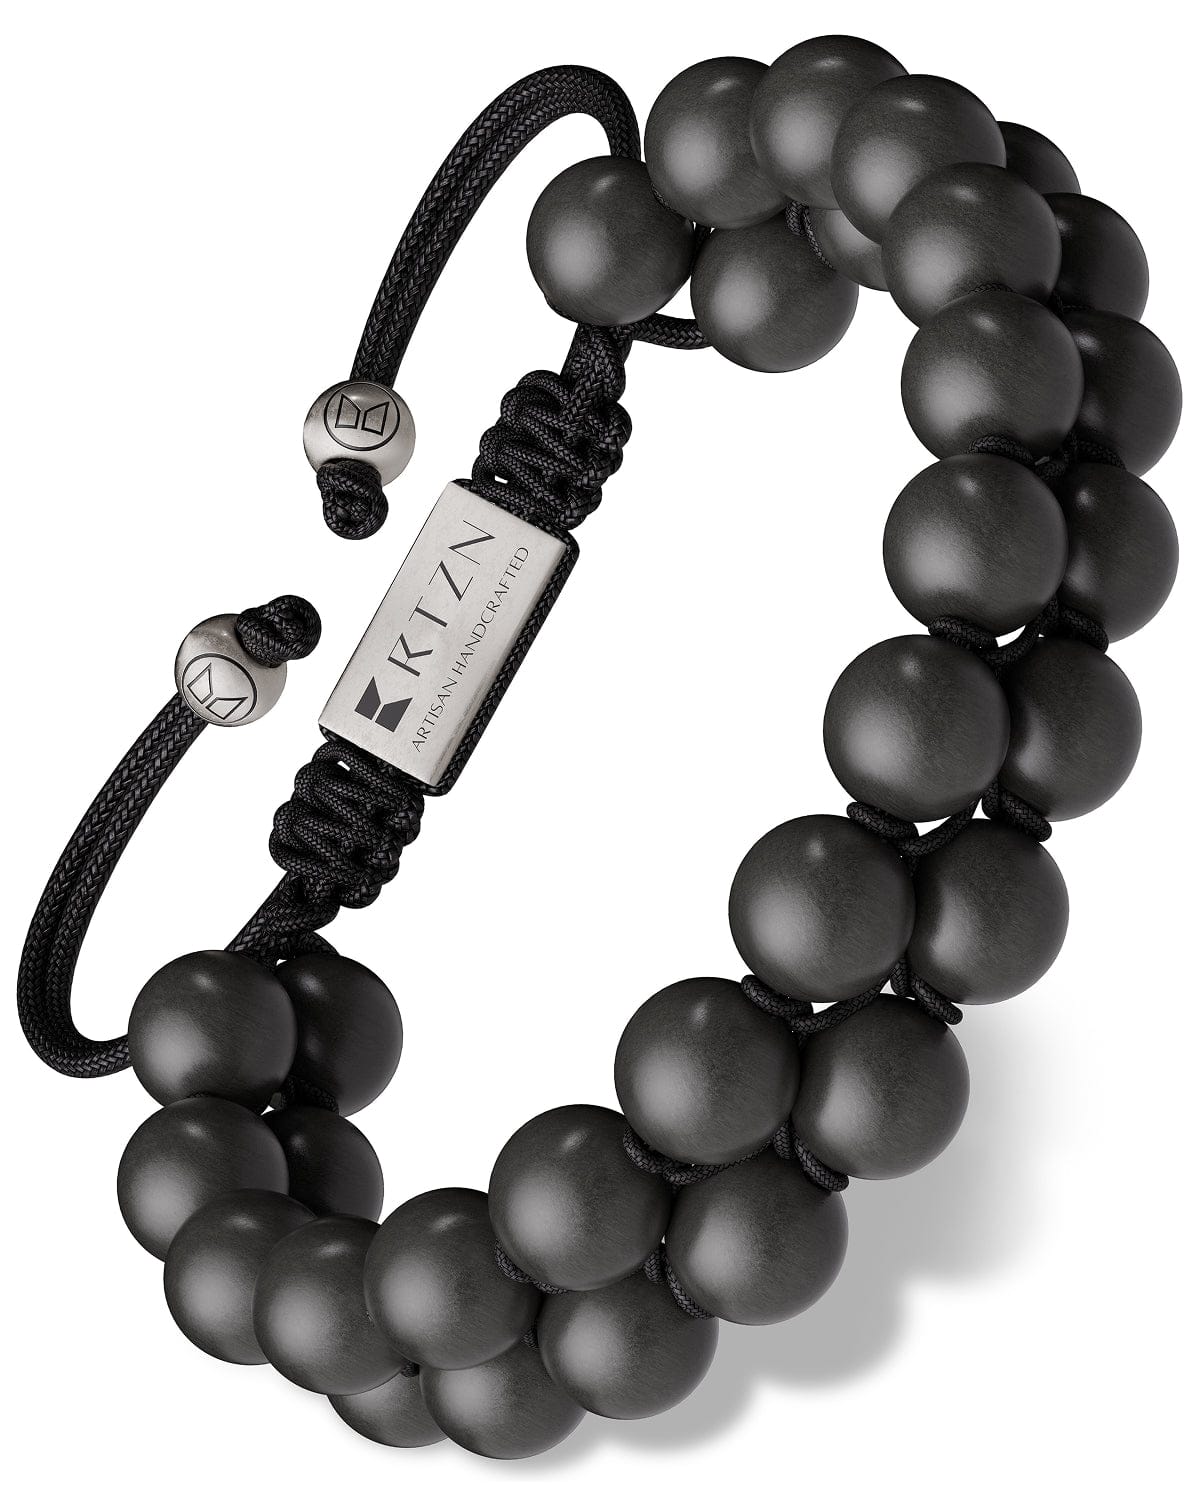
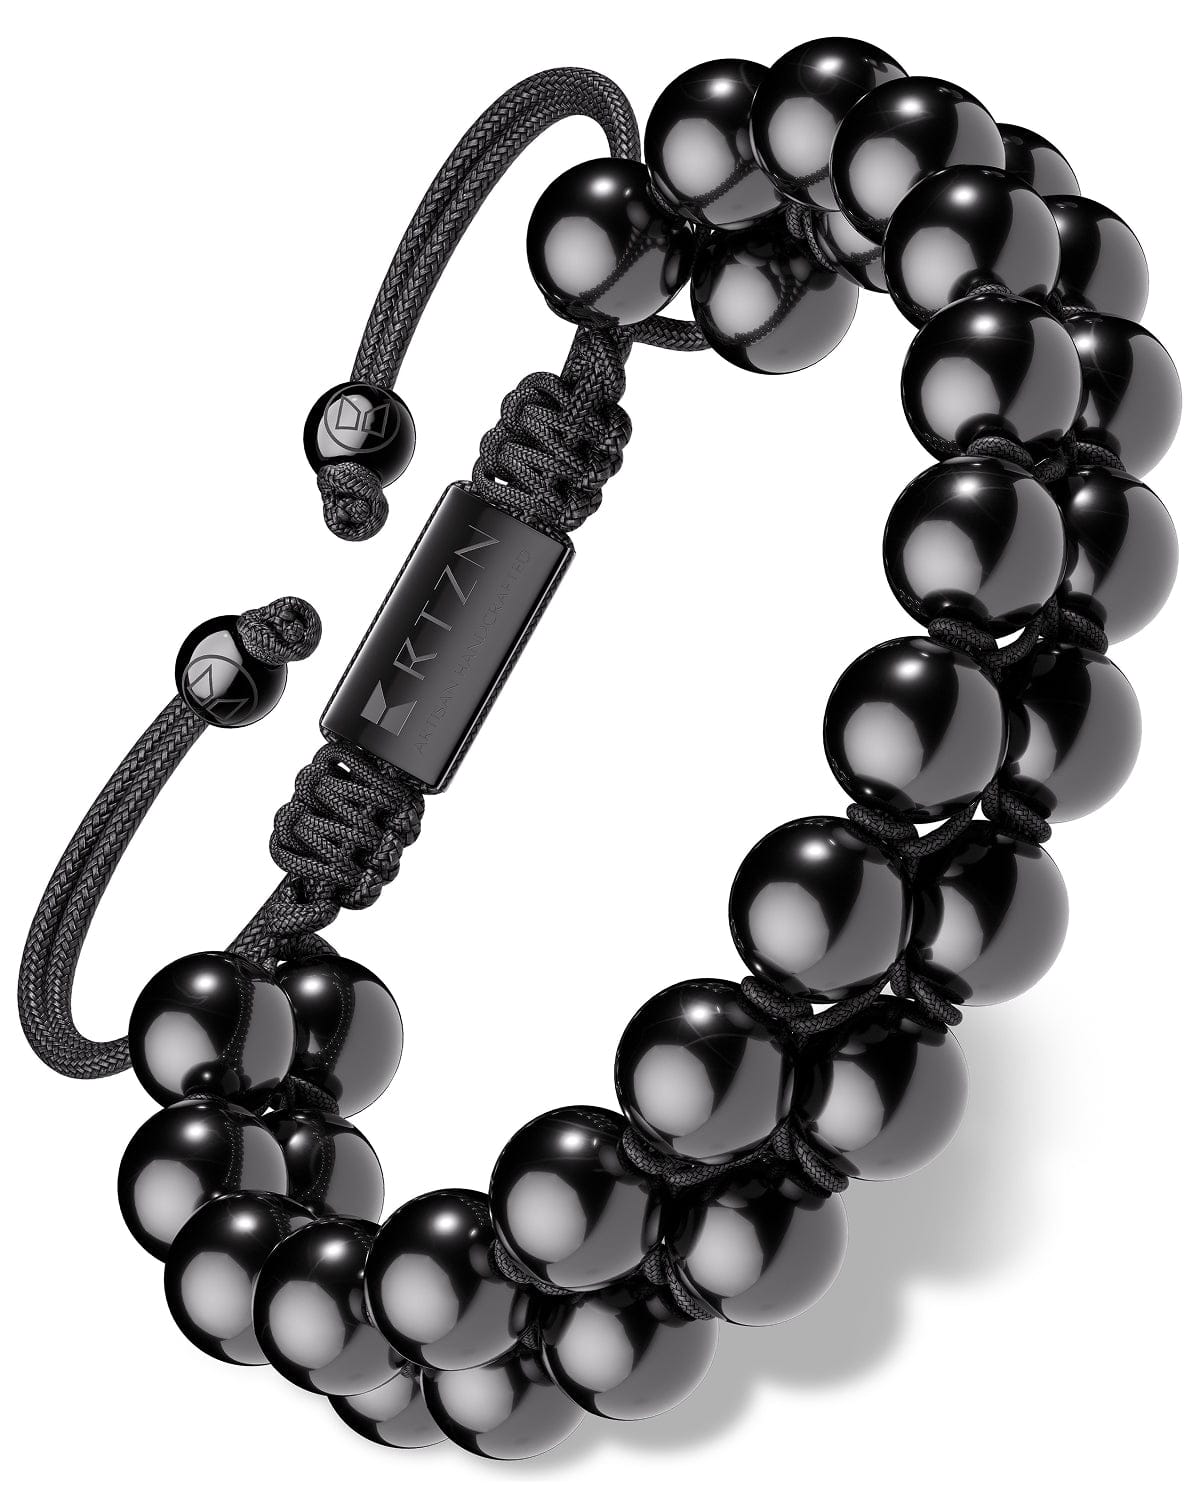
Creating a bracelet with multiple strands of beads can add depth and dimension. You can mix different types of beads on each strand for a layered effect. For example, one strand could feature wooden beads, another could use natural stone beads, and the third could include metal accents.
4. Wire Wrapping:
For a more intricate design, wire wrapping can be used to create detailed patterns or to secure focal beads in place. This technique involves using thin wire to wrap around the beads or cord, adding a decorative element to the bracelet. Wire wrapping is also useful for attaching charms or pendants securely.
5. Adding Charms:
Charms can add a personal touch to your bracelet. You can choose symbols, initials, or meaningful objects that represent your personality or beliefs. Attaching a charm to the bracelet can be as simple as looping it onto the cord or using a jump ring to secure it in place.
Caring for Your Handmade Bracelet
Now that you’ve crafted your bracelet, it’s essential to care for it properly to ensure it lasts for years. Here are a few tips:
- Avoid Prolonged Exposure to Water: While stretch cords and beads are generally durable, it’s best to remove your bracelet before showering, swimming, or engaging in activities that involve water. Prolonged exposure can weaken the cord and cause certain beads, especially wooden ones, to deteriorate.
- Clean Beads Regularly: To keep your bracelet looking its best, clean the beads periodically. Use a soft cloth or a brush with gentle soap and water to remove any dirt or oils that may accumulate. For metal beads, a polishing cloth can help restore their shine.
- Store Properly: When not in use, store your bracelet in a cool, dry place. Avoid leaving it in direct sunlight or in areas with high humidity, as this can affect the beads and cord over time. Using a small jewelry pouch or box can help prevent damage.
Creative Inspirations for Men’s Bracelets
Crafting your own beaded bracelet opens up a world of creative possibilities. Here are some inspiring ideas to get your creative juices flowing:
1. Earthy and Rustic:
Combine wooden beads with natural stones like Jasper or Agate to create a rugged, outdoorsy look. The mix of textures and colors will evoke a grounded, nature-inspired feel.
2. Minimalist and Sleek:
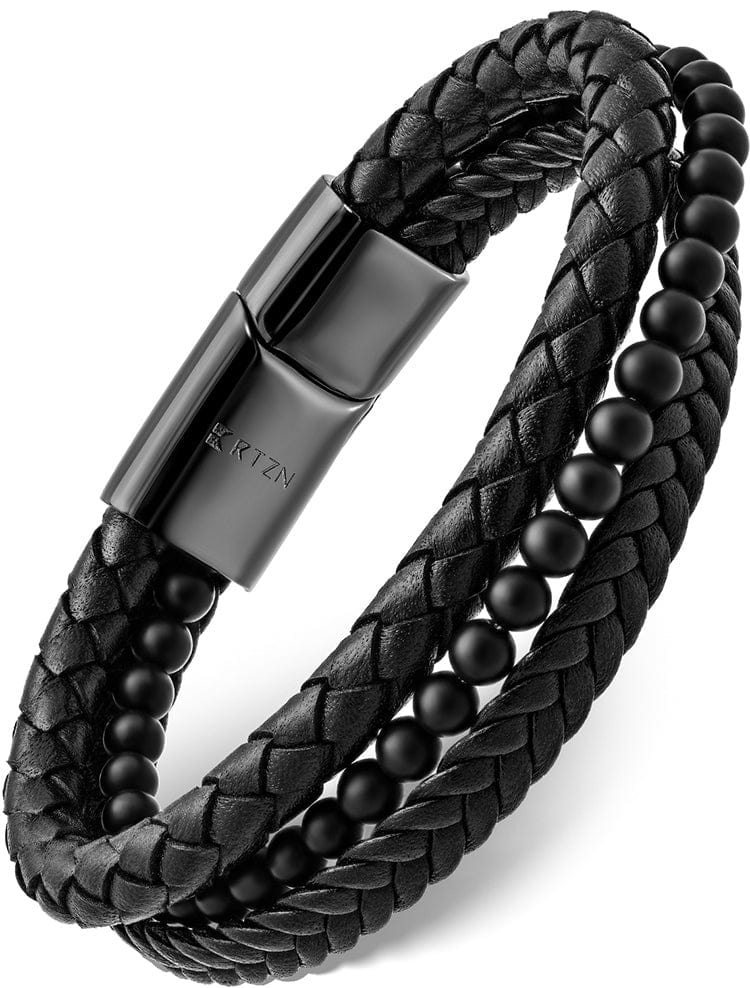
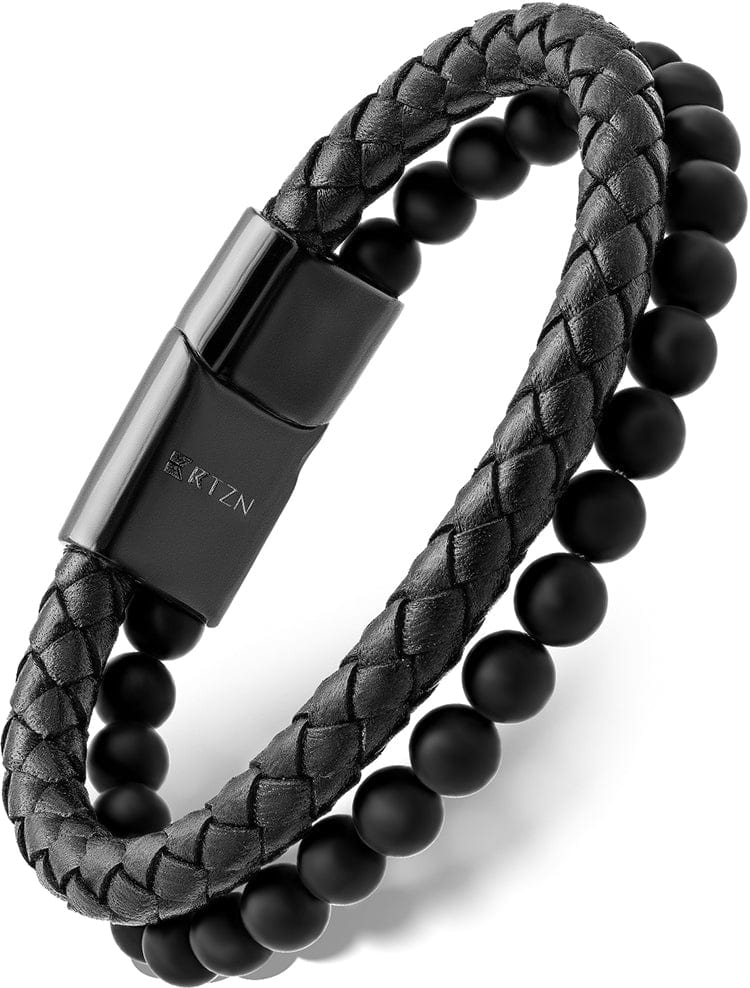
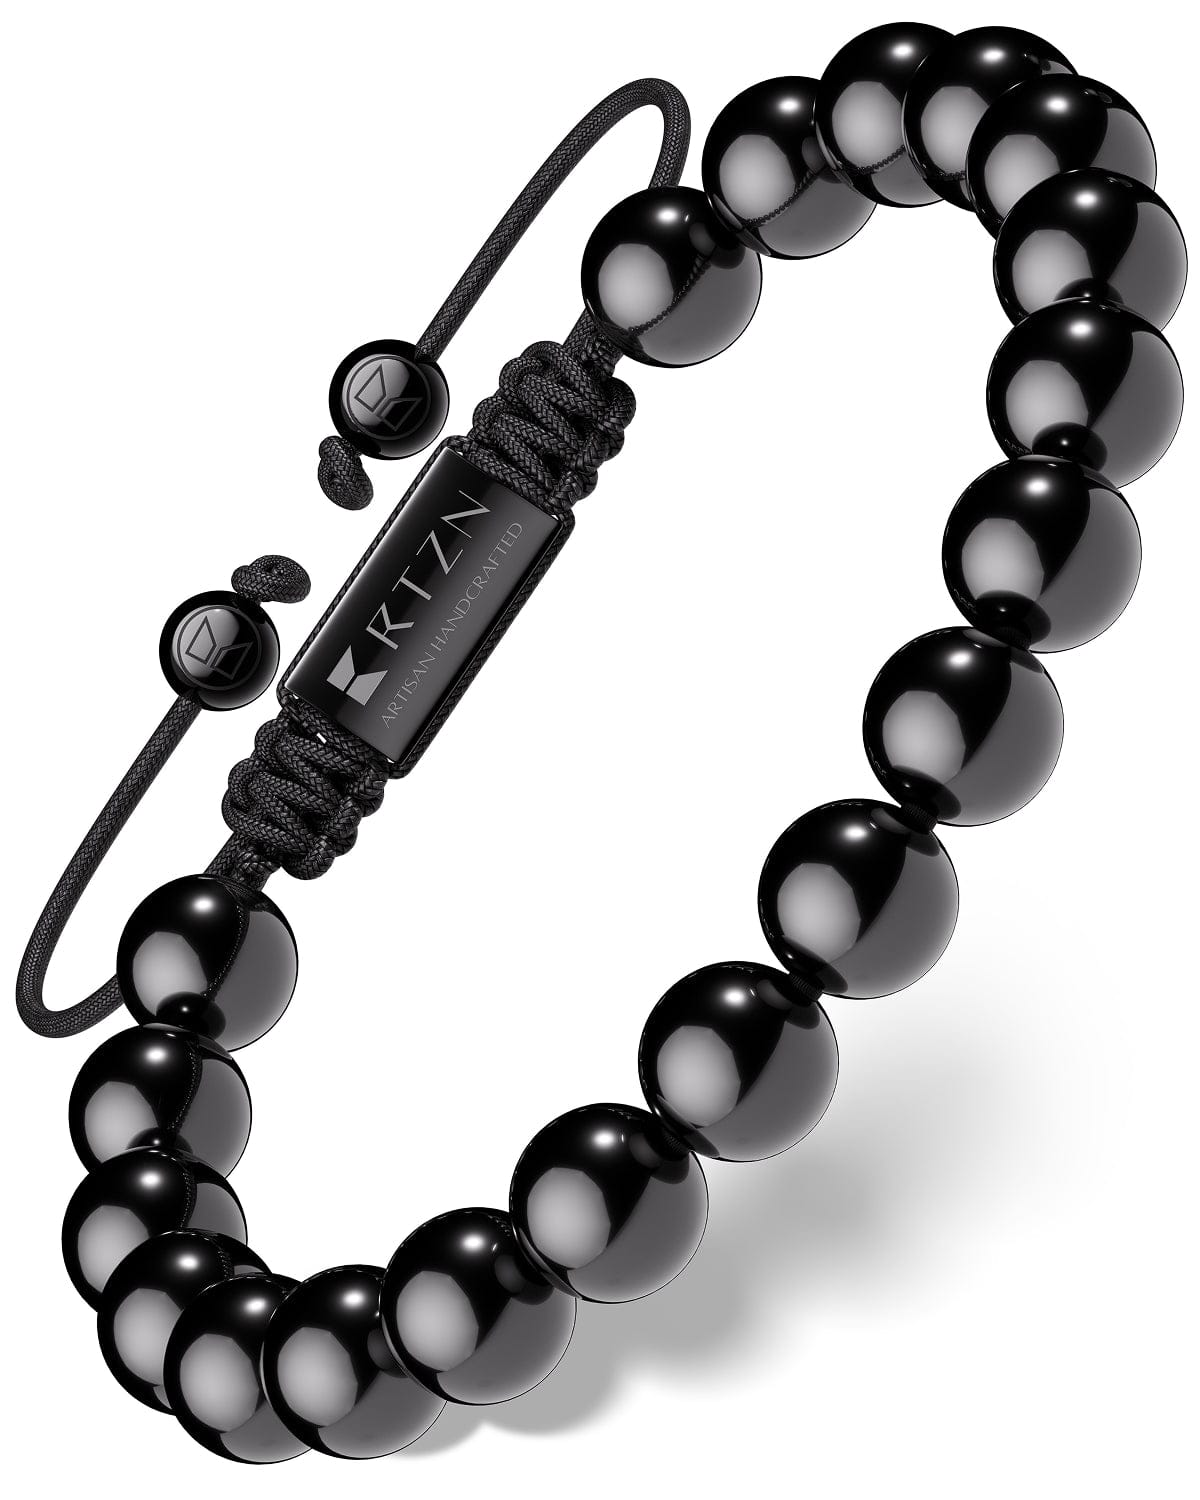
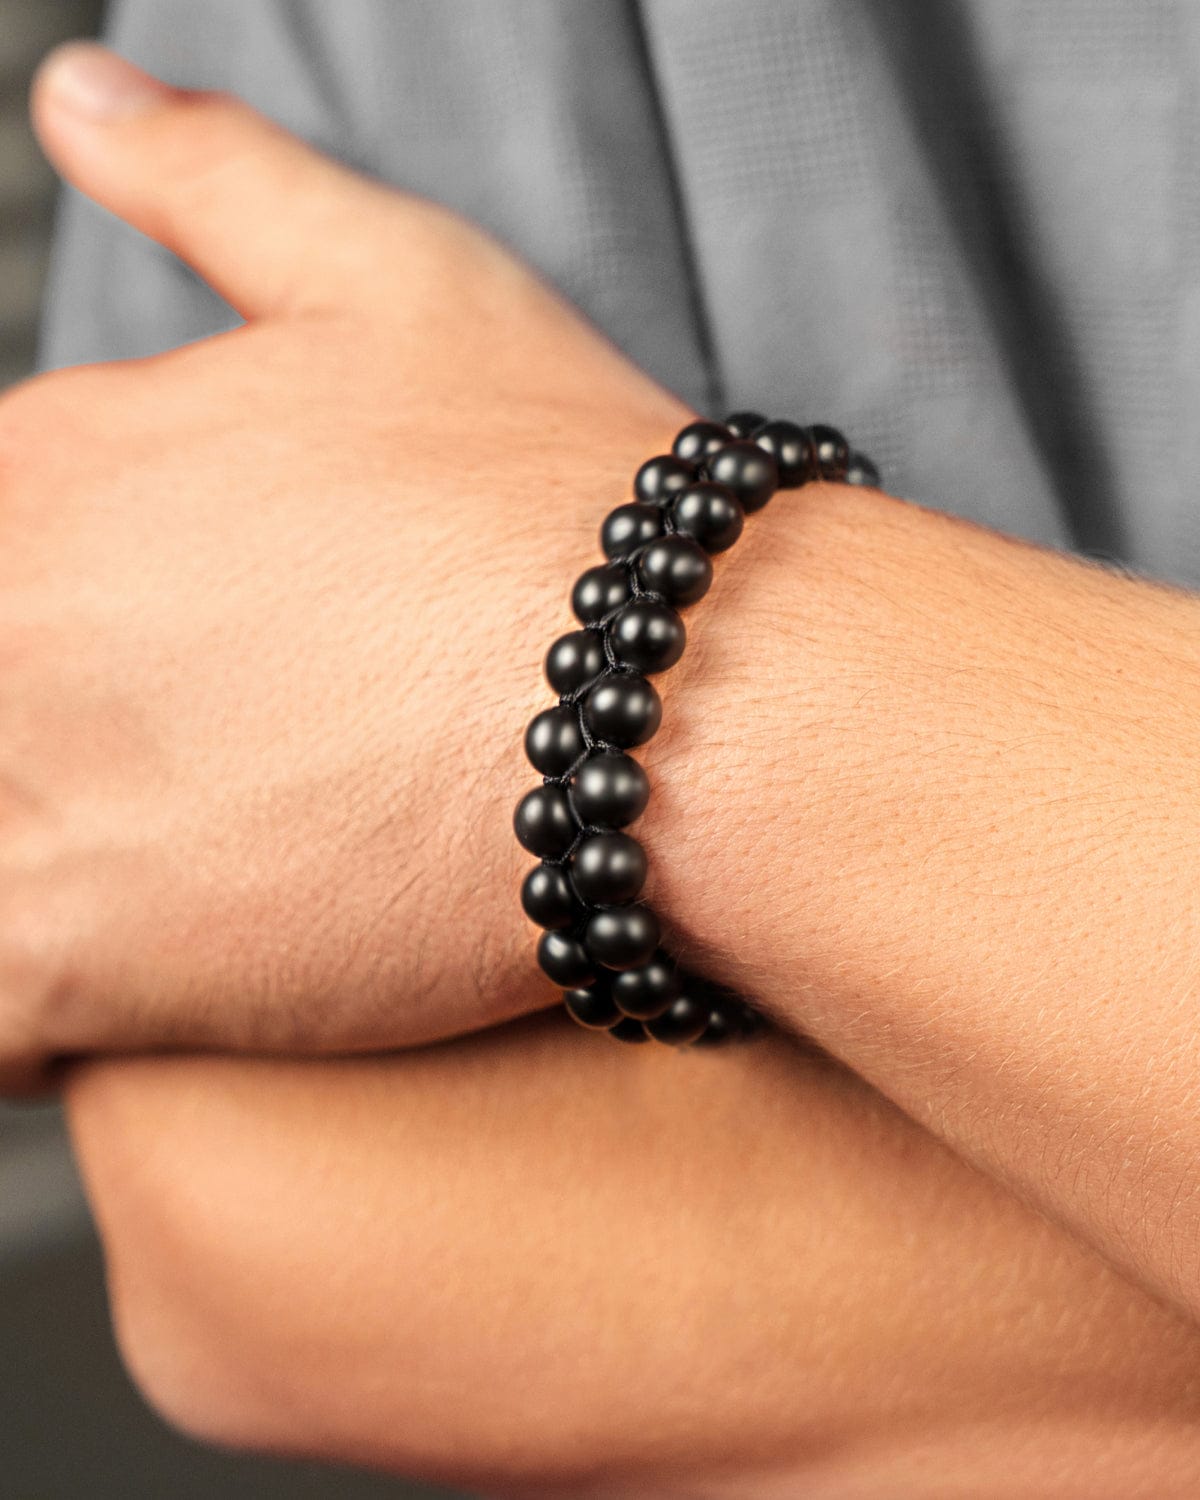
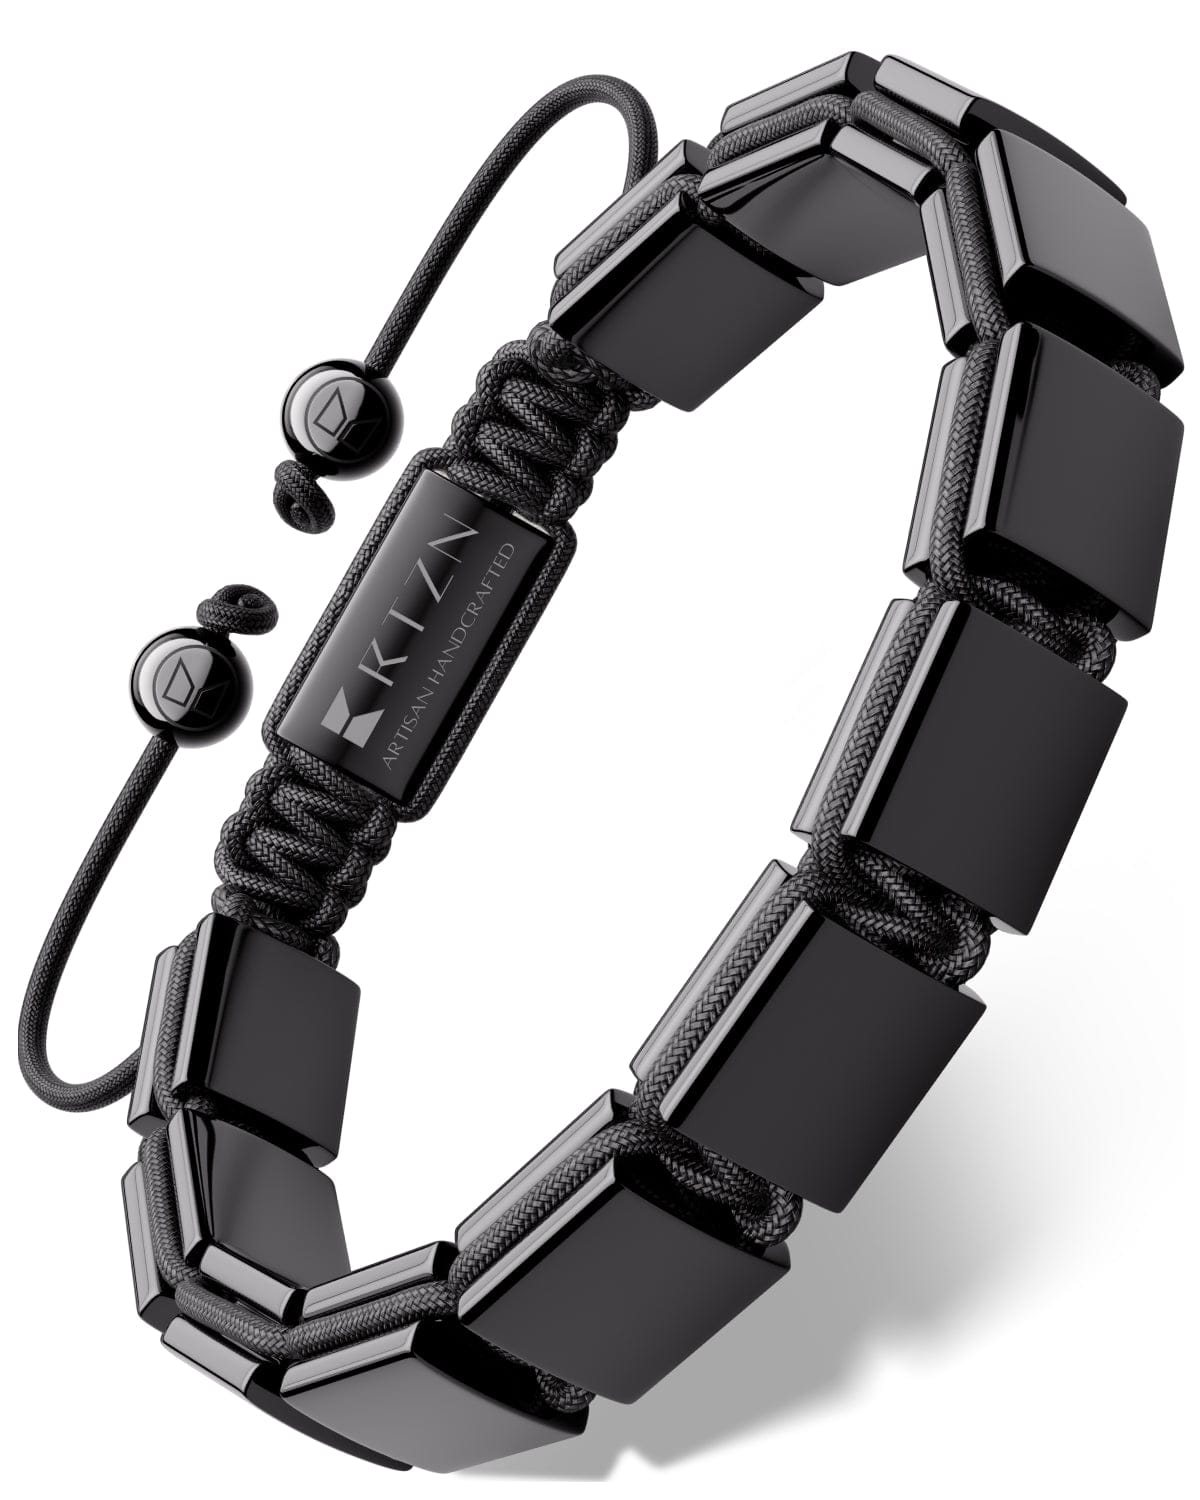
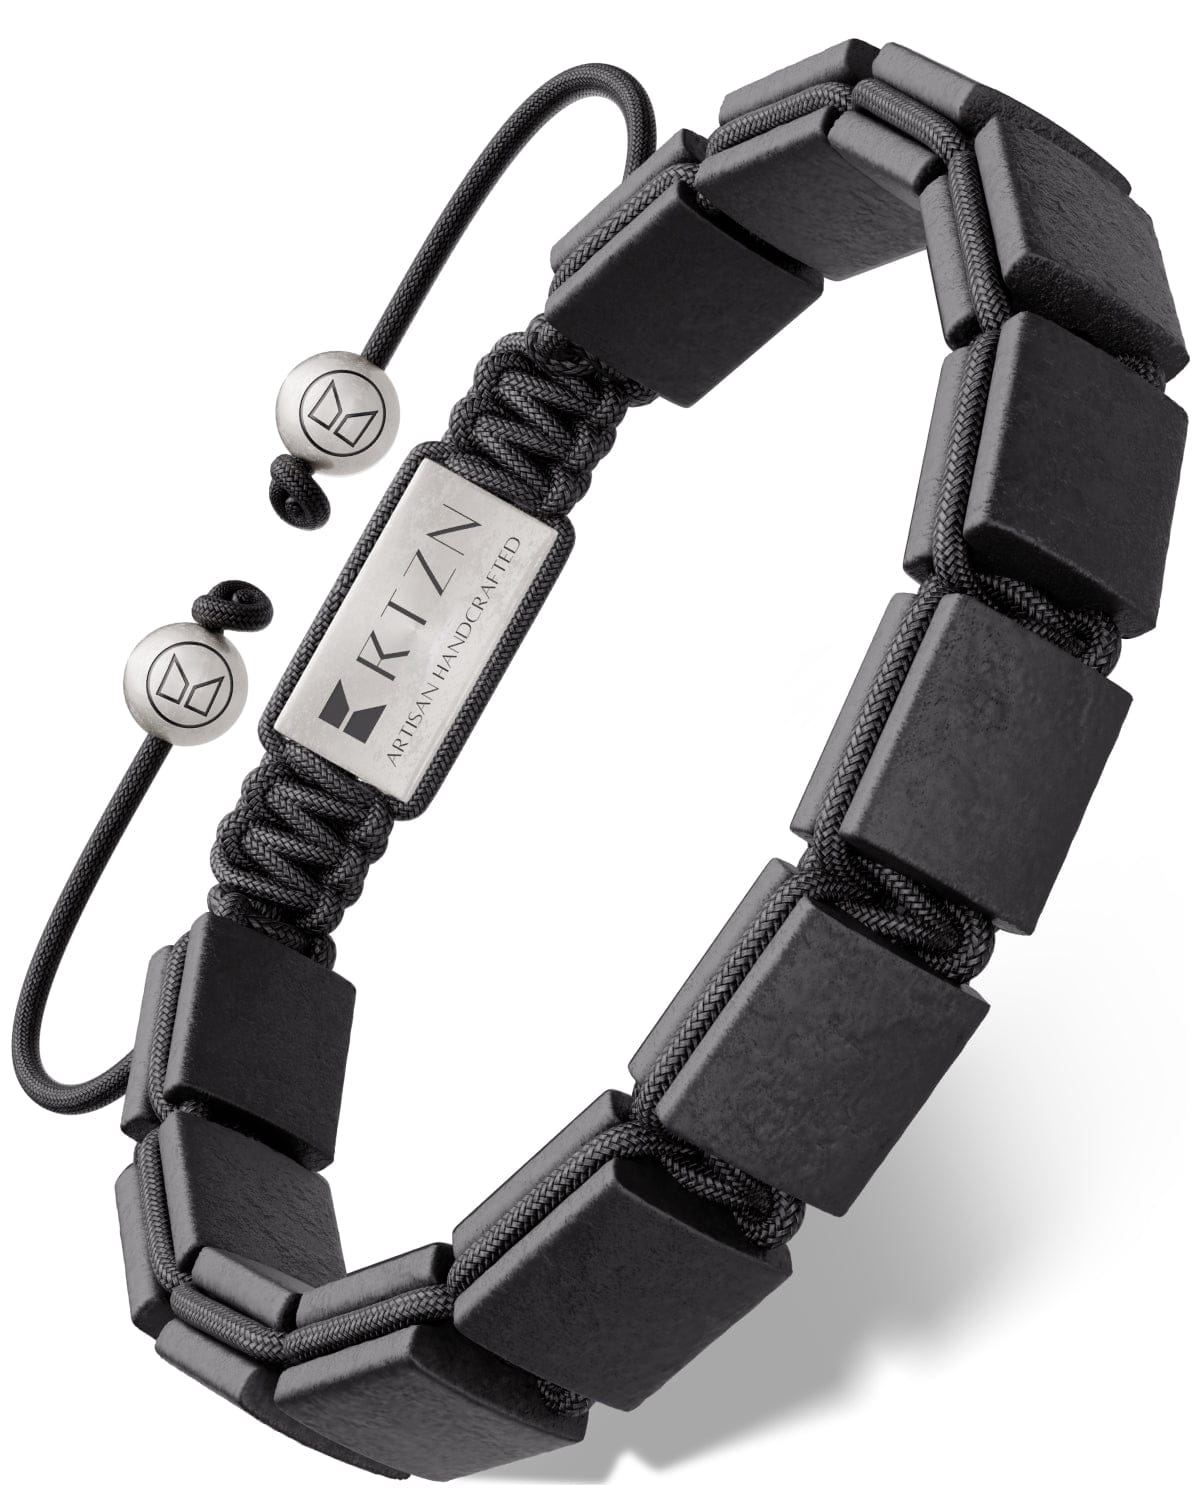
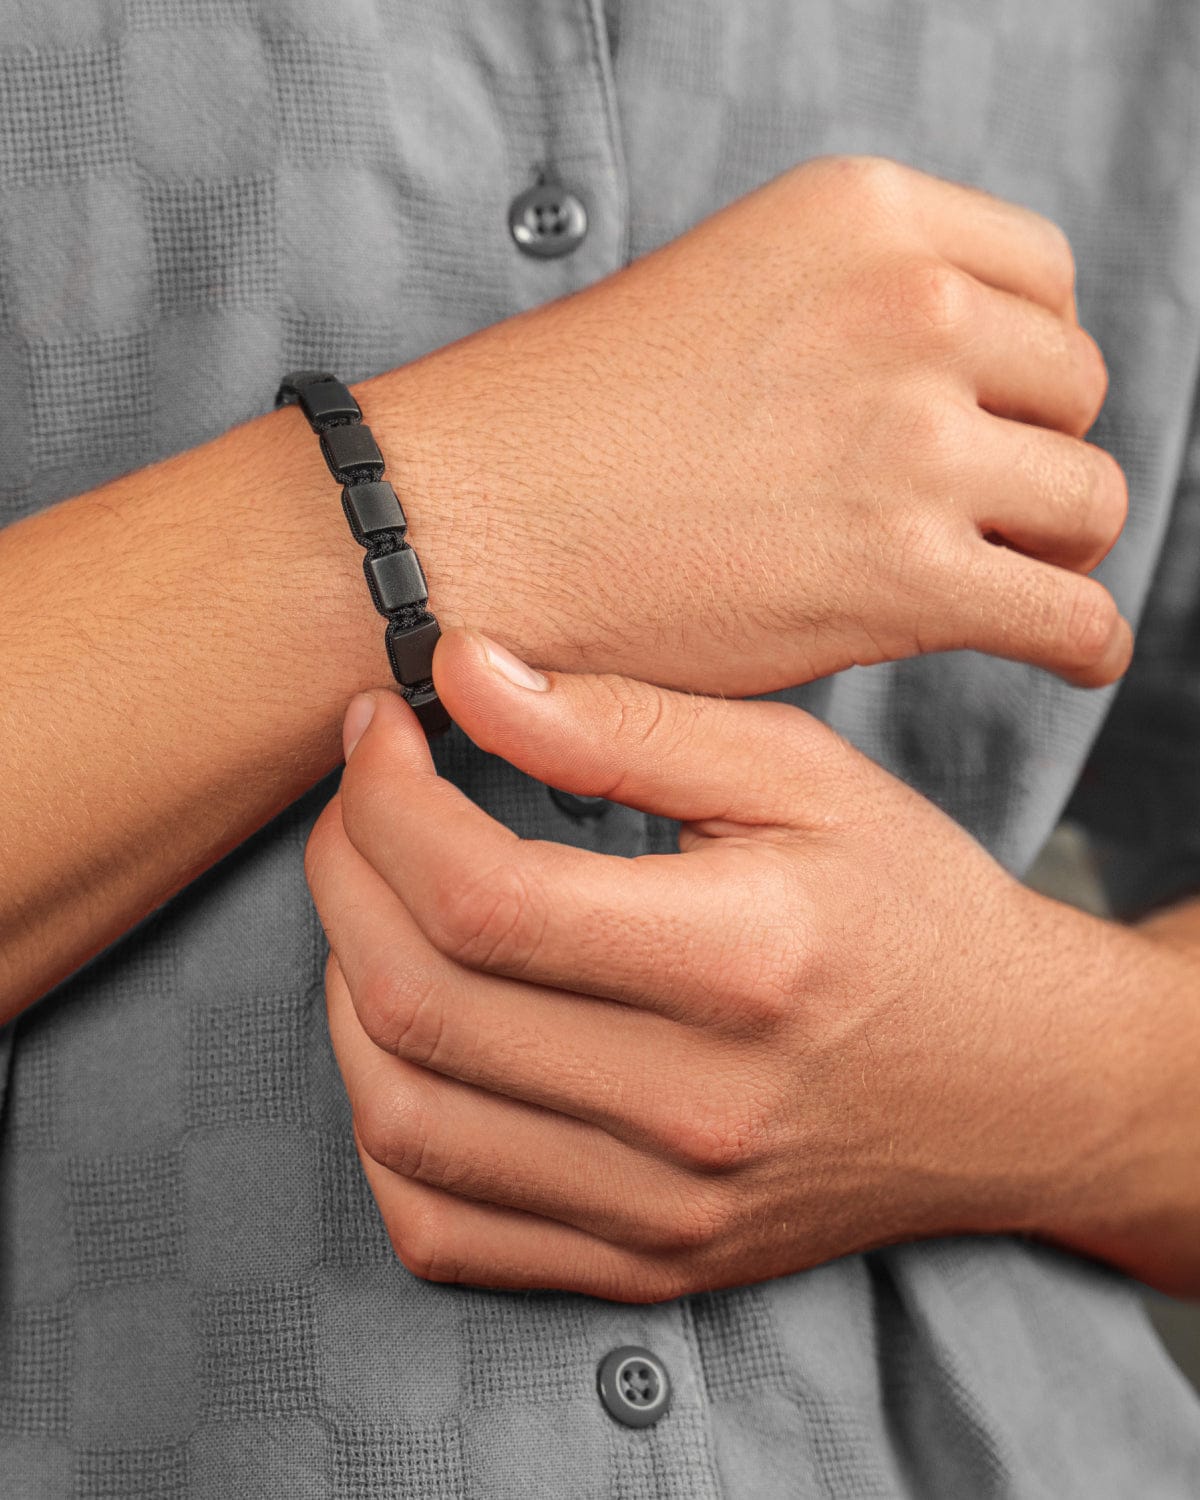
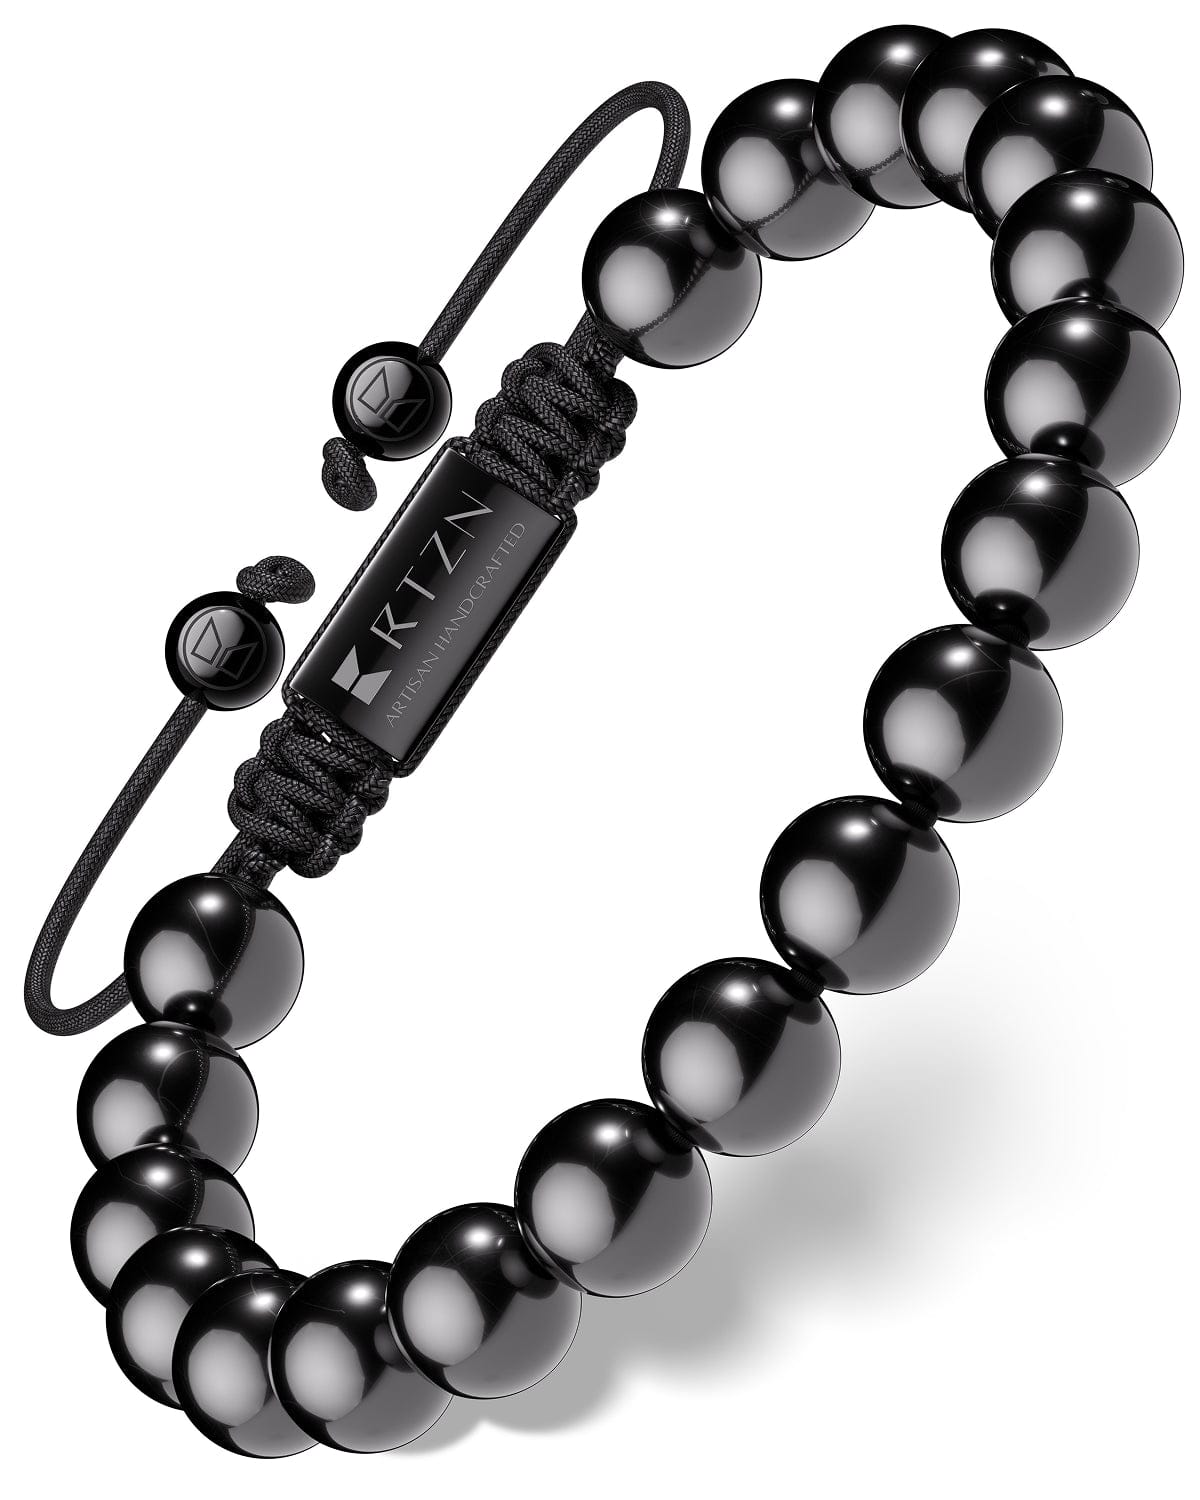
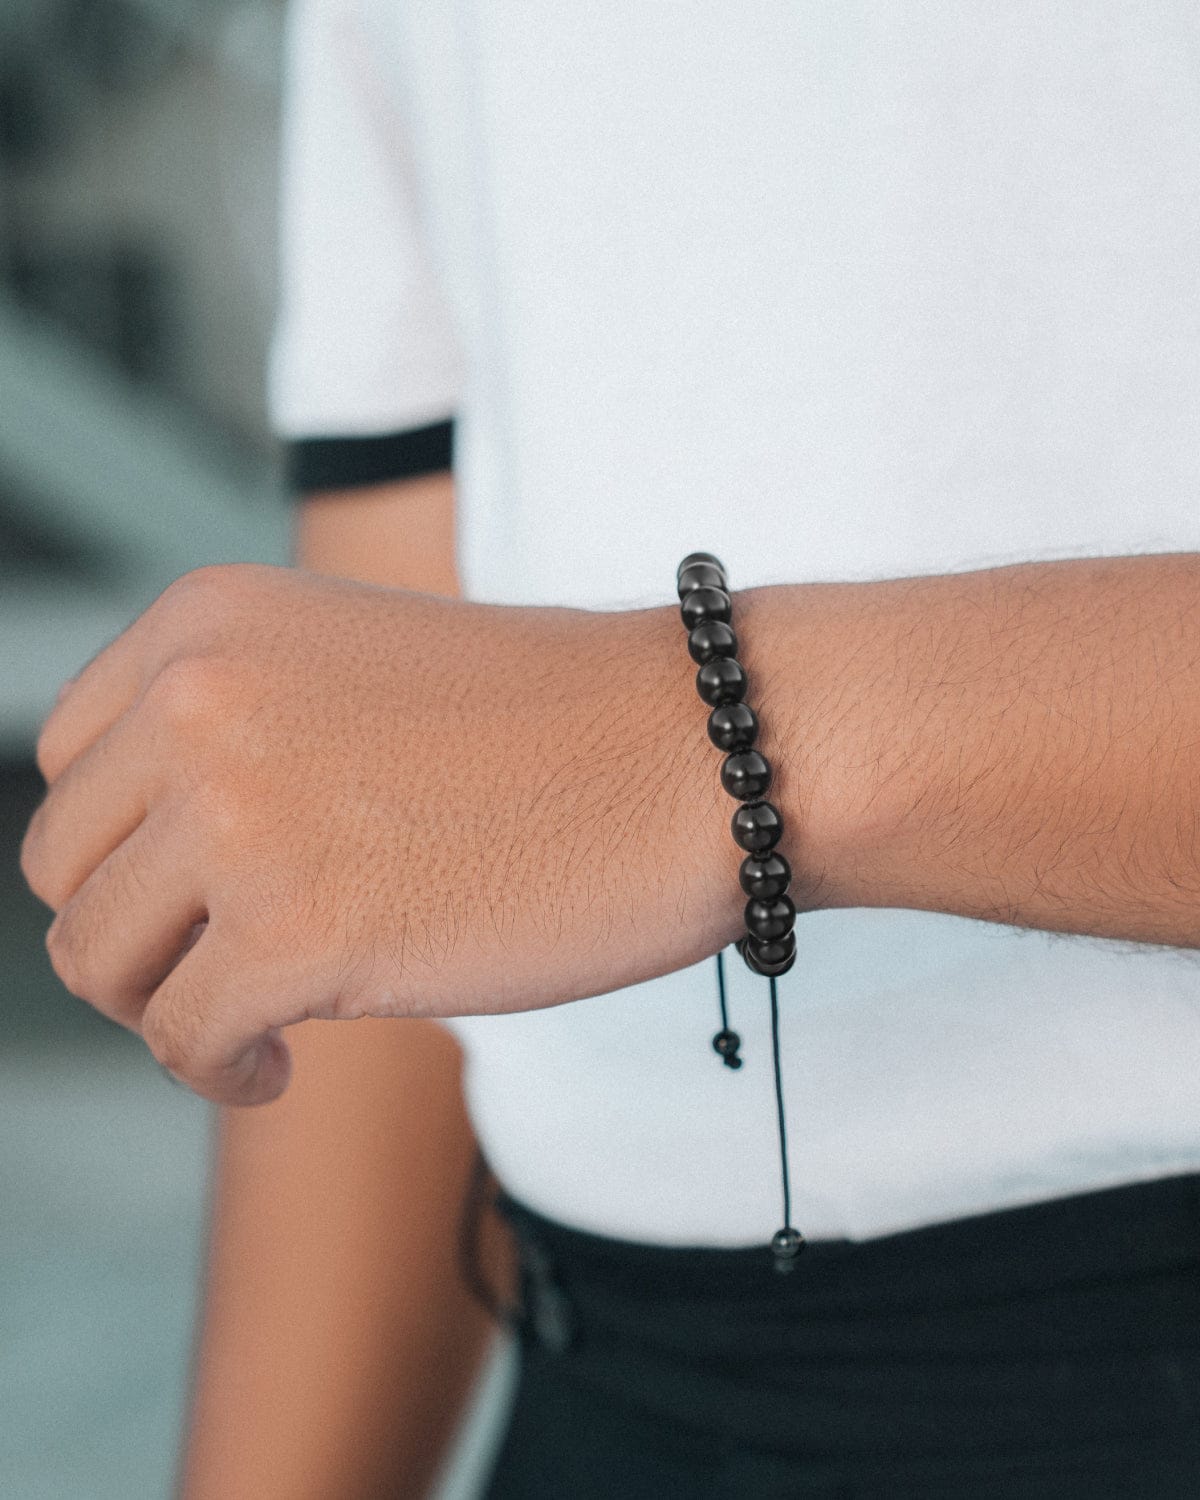
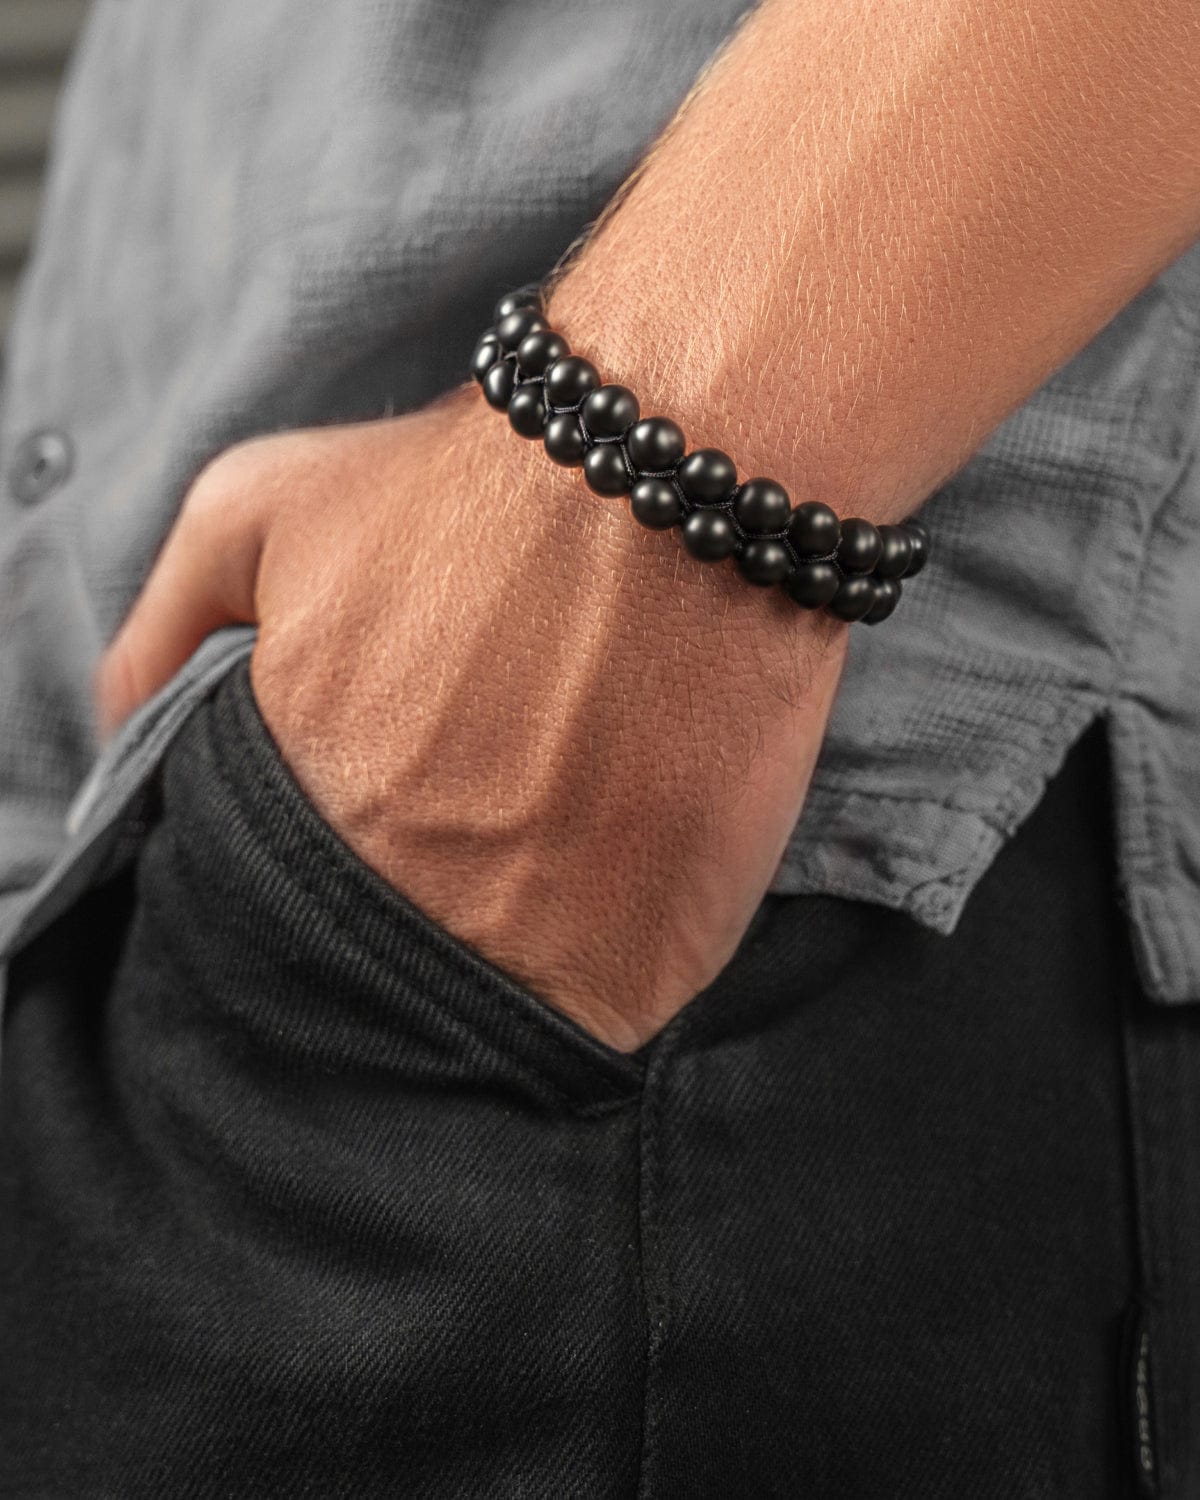
For a more refined look, consider using only one type of bead in a single color. Matte black Onyx or polished Hematite beads can create a sleek, minimalist design that pairs well with both casual and formal outfits.
3. Bold and Statement-Making:
If you’re looking to create a bold piece, opt for larger beads, such as 10mm or 12mm stones, and incorporate metal spacers for contrast. A bracelet featuring Lava Rock beads with silver accents can make a strong impression.
4. Cultural and Symbolic:
Incorporate symbols that hold cultural or spiritual significance. For instance, you could add a small Buddha charm or an Om symbol to represent peace and balance. Alternatively, using beads with patterns inspired by tribal or indigenous designs can add a cultural element to your piece.
5. Mixed Material Bracelets:
Don't be afraid to mix different materials such as leather, stones, wood, and metal in one bracelet. This approach can result in a bracelet that is rich in texture and design. For example, alternating between leather sections and beads creates a bracelet with a natural yet sophisticated feel.
Final Thoughts on Crafting Beaded Bracelets for Men
Making your own beaded bracelet is a fulfilling project that allows you to express your creativity while crafting something functional. Whether you’re creating a simple design for everyday wear or a complex, layered bracelet, the process is an enjoyable way to relax and tap into your artistic side.

